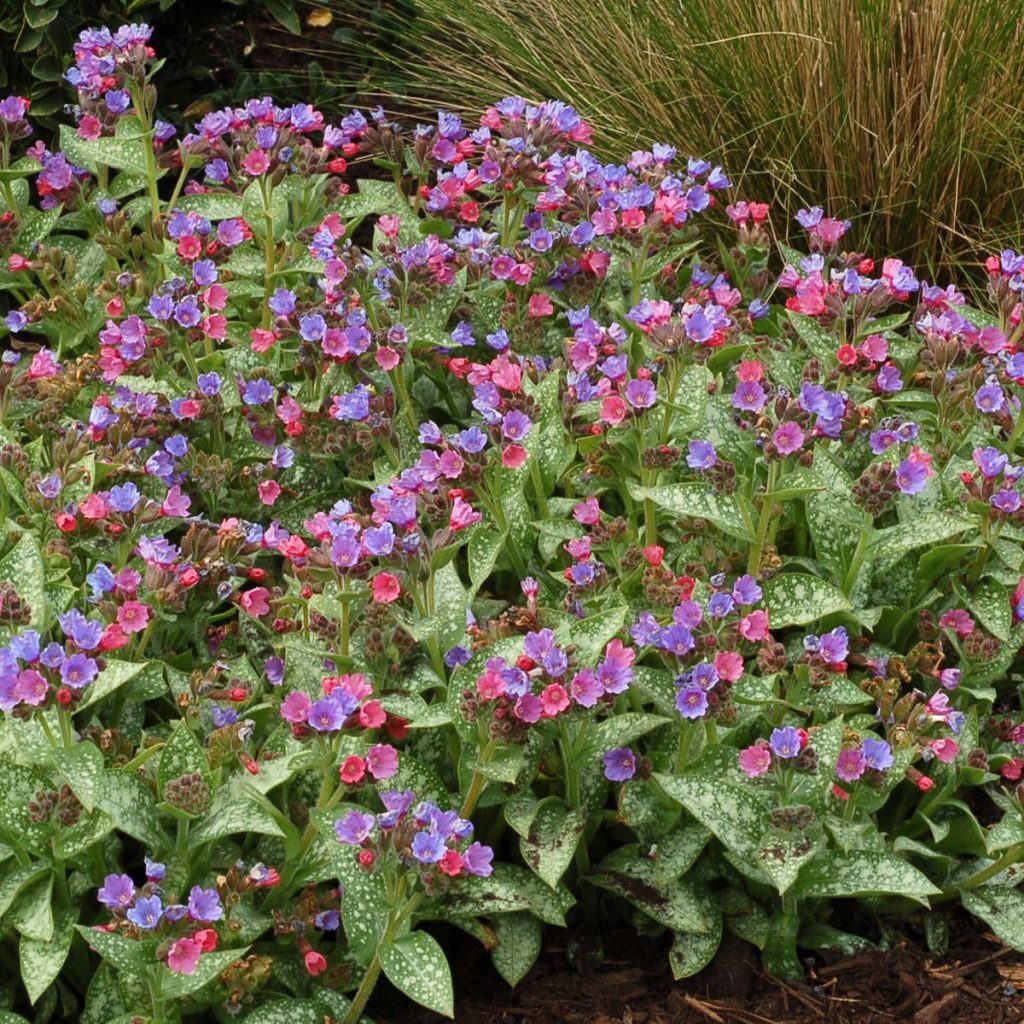
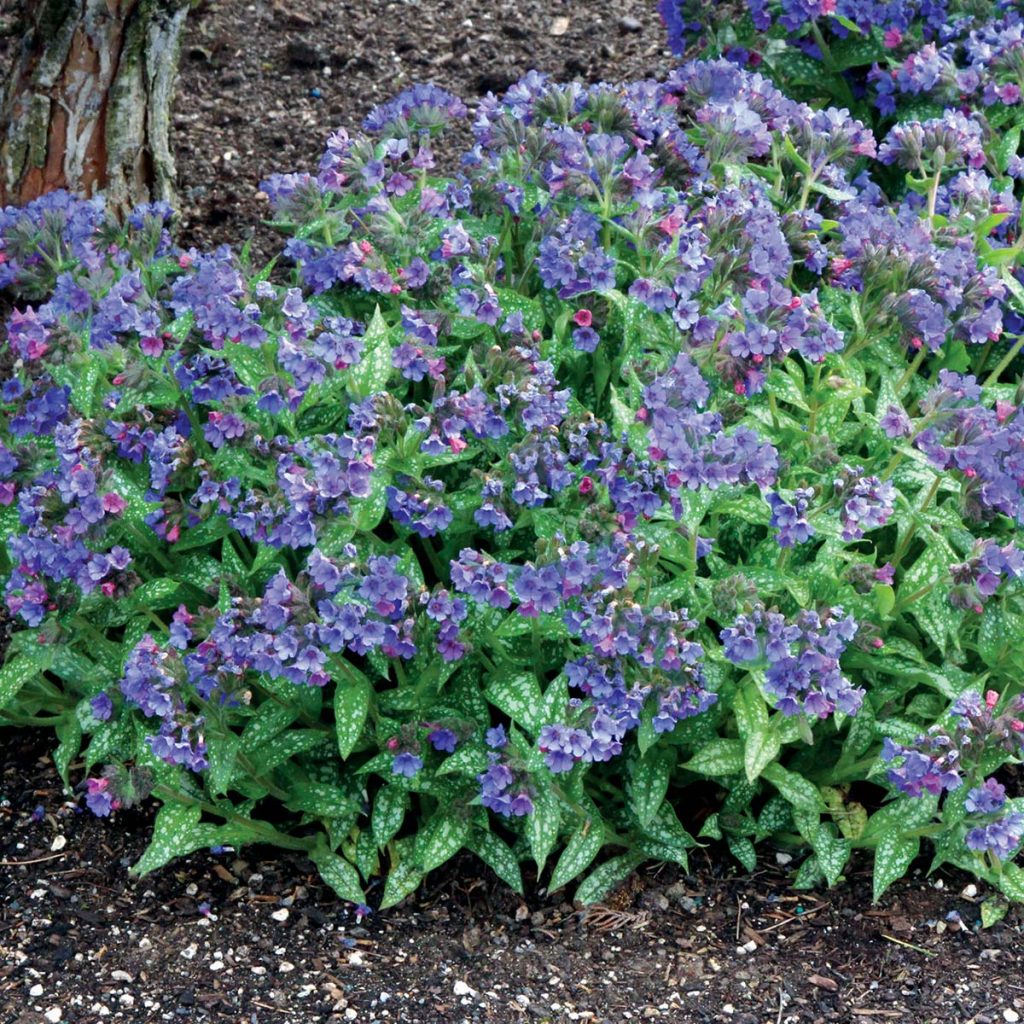
Lungwort also known by its Latin name Pulmonaria, is a captivating perennial that adds a touch of elegance to any garden. With its distinctive silver-spotted leaves and charming, tubular flowers, Pulmonaria is not only visually appealing but also a valuable asset to your garden’s ecosystem. An excellent bold-textured woodland perennial that contrasts nicely with other early perennials such as Hellebores or Bleeding Hearts. Its early blooming habit makes it an excellent nectar source for early bees and pollinators. This beautiful plant is sometimes also referred to as Bethlehem Sage or Our Lady’s Milk Drops.


Key Characteristics
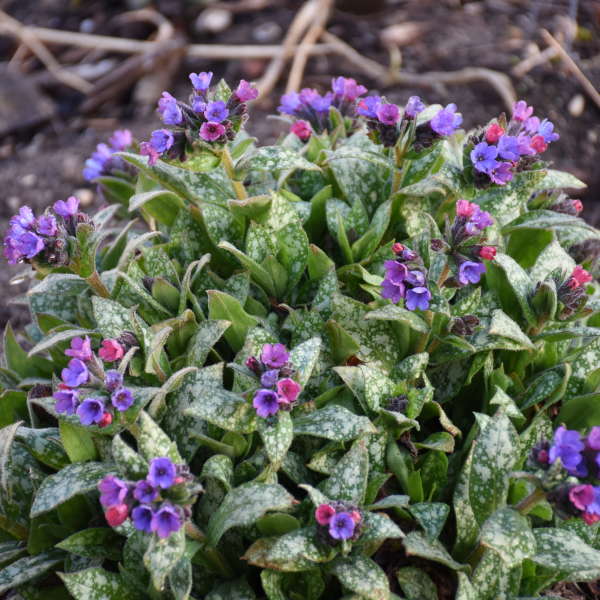
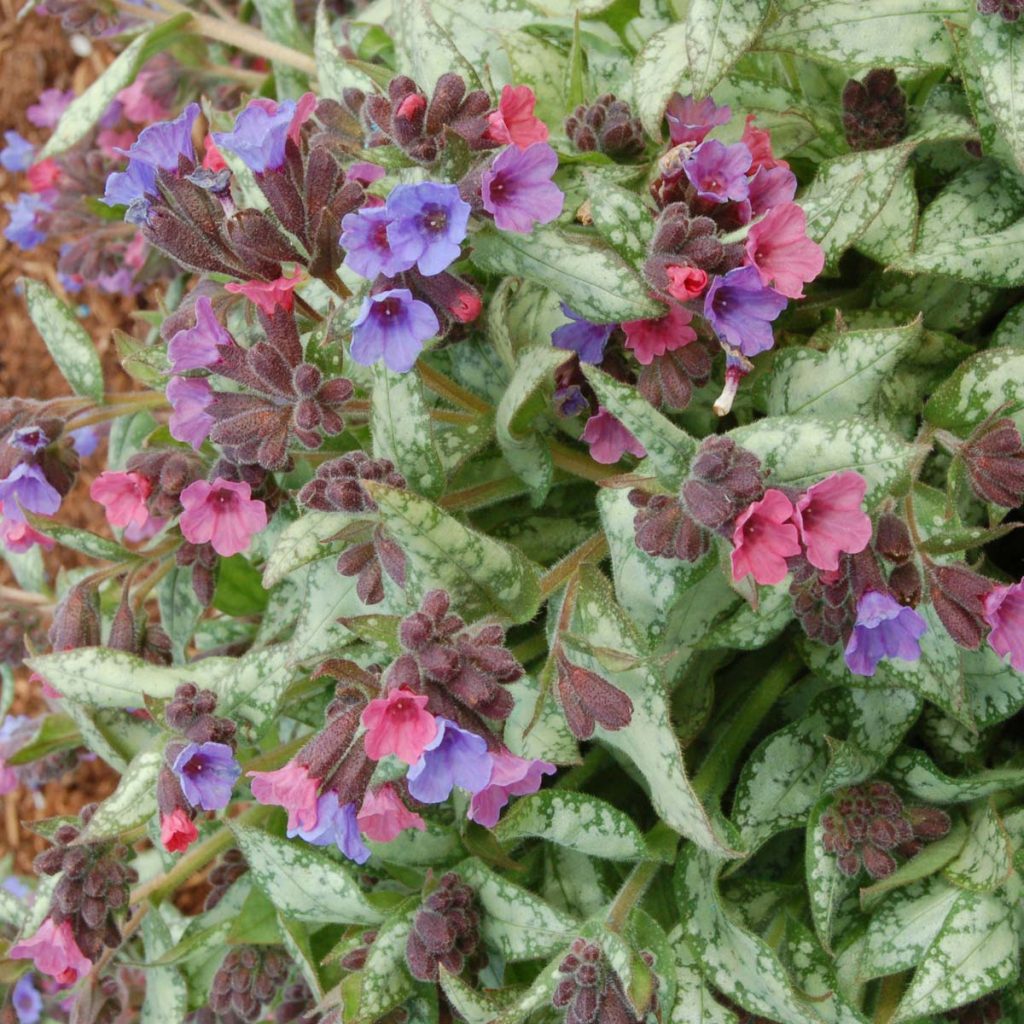
Foliage: Pulmonaria plants are renowned for their unique fuzzy elongated leaves, often spotted or splashed with silver. The variegated foliage adds interest and texture to your garden, even when the plant is not in bloom.
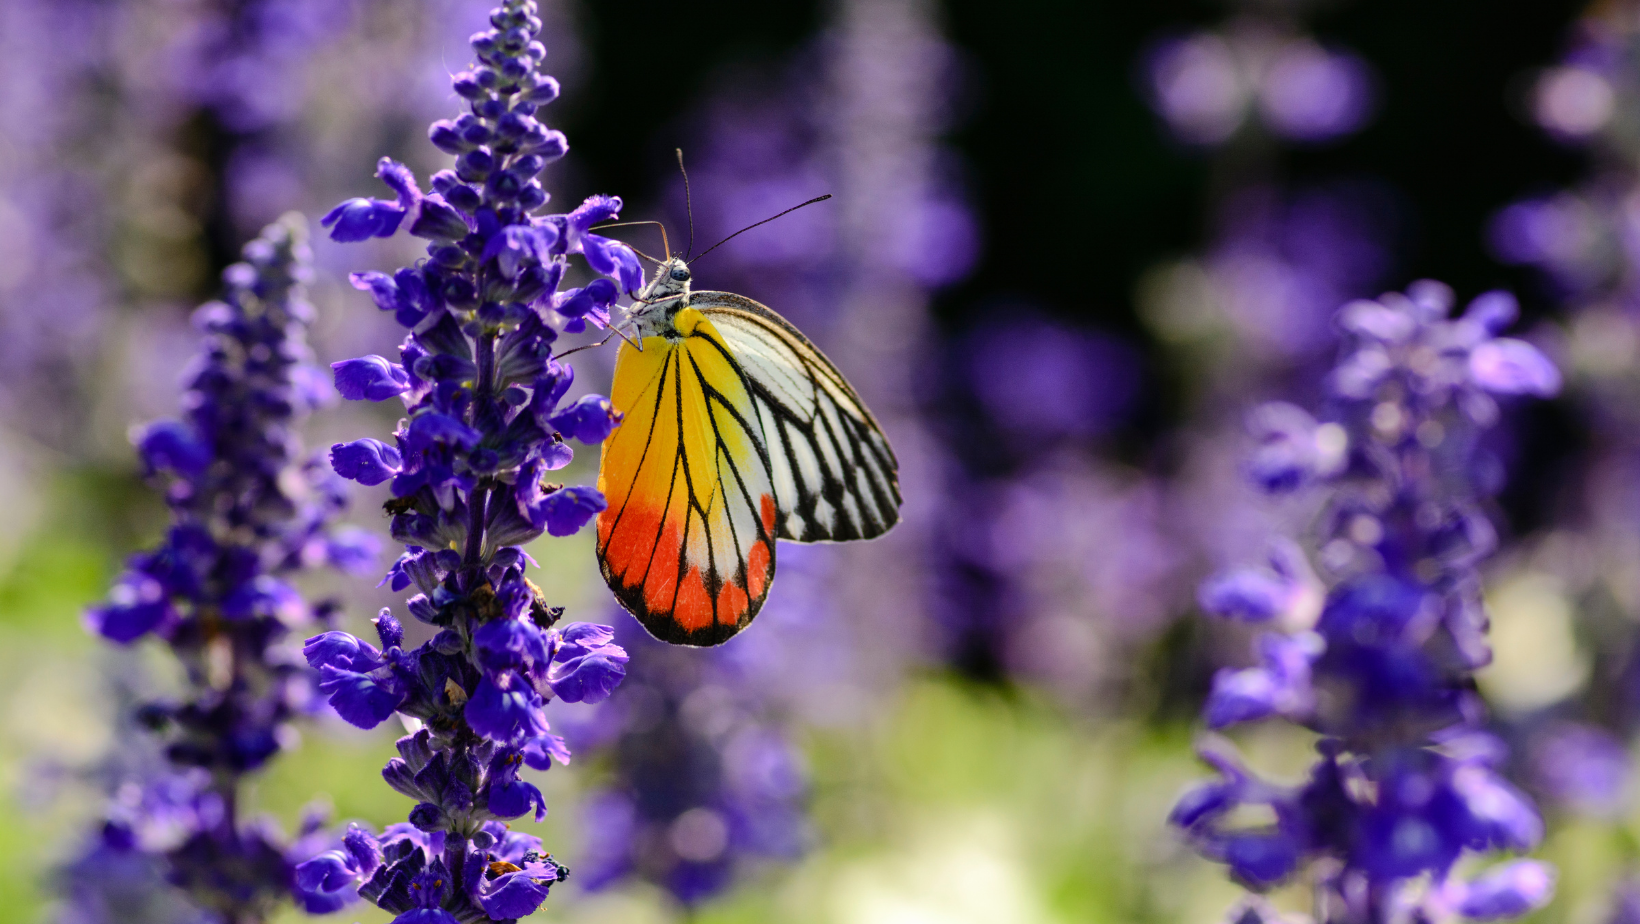
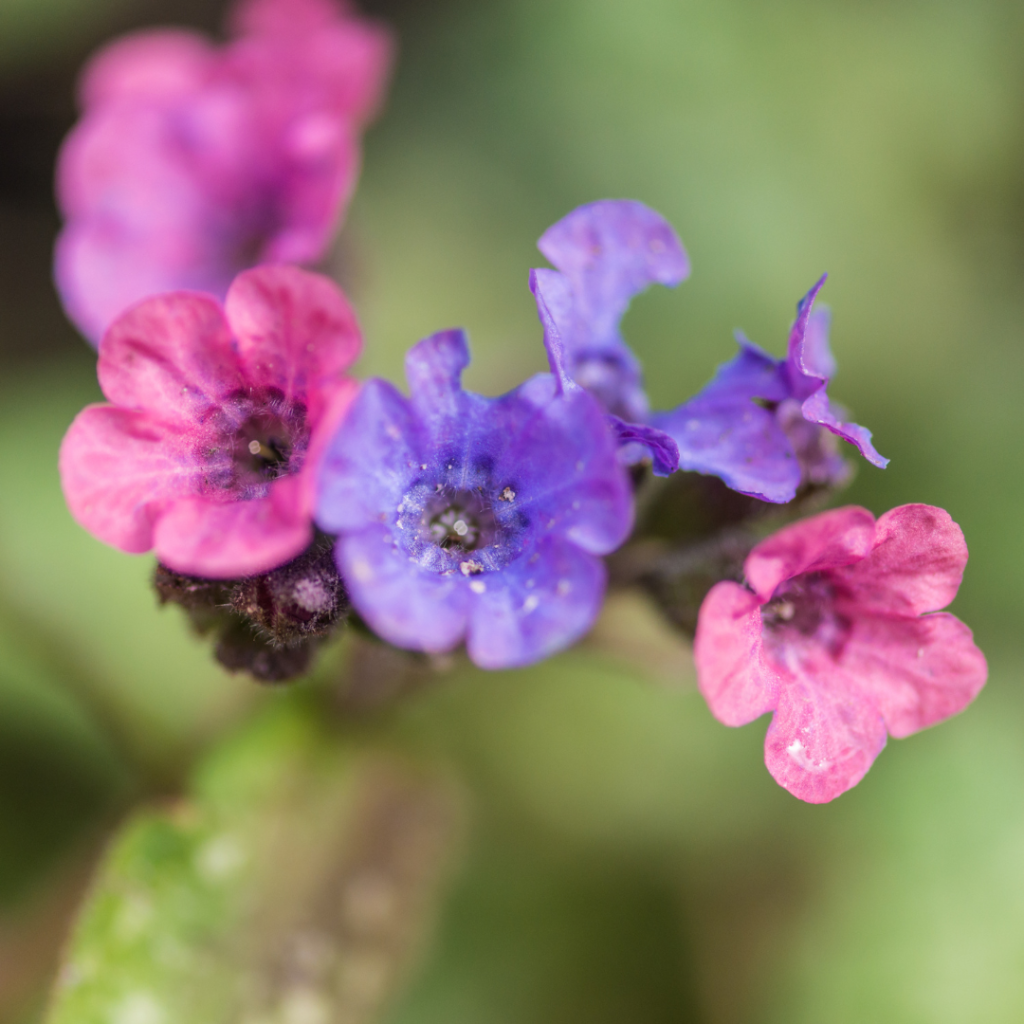
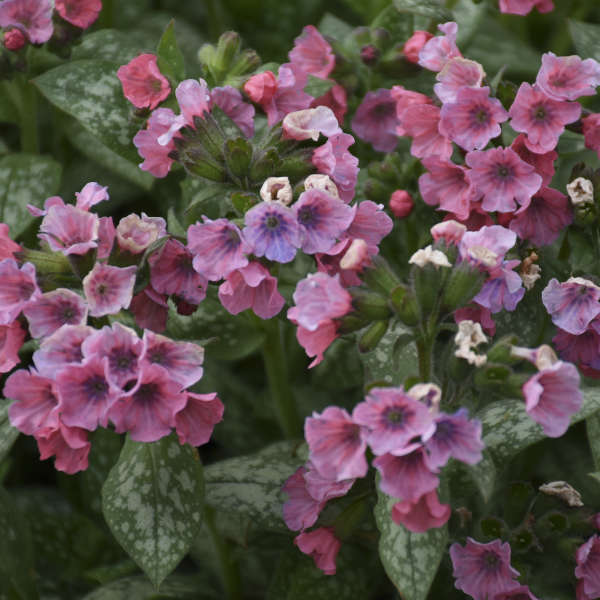
Flowers: Lungwort blooms in early spring, showcasing clusters of tubular, bell-shaped flowers in shades of pink, blue, purple, and sometimes white. The two-toned blossoms create a stunning visual display and are a beacon for early pollinators, such as bees, butterflies and hummingbirds.
Adaptability: Pulmonaria is a versatile plant that can thrive in various conditions. Whether in partial shade or full shade, these hardy perennials are well-suited for woodland gardens, shaded borders, or as ground cover beneath trees.
Cultivating Tips
- Location: Plant Lungwort in a location with dappled shade to partial shade. While they can tolerate some sunlight, they thrive in cooler, shadier spots. Pulmonarias spread slowly by creeping rhizomes, forming a nice patch of foliage.
- Soil: Lungwort prefers well-draining, moist soil with a slightly acidic to neutral pH. Incorporate organic matter like Bumper Crop compost into the soil to enhance its fertility.
- Planting: Plant Pulmonaria in the spring or fall, ensuring the crown is level with the soil surface. Space plants about 12 to 18 inches apart, giving them room to spread.
- Watering: Keep the soil consistently moist, especially during dry periods. Mulching around the base of the plant helps retain moisture and suppress weeds
- Maintenance: Deadhead spent flowers to encourage continuous blooming and remove any damaged or yellowing leaves. Pulmonaria can be divided every few years in the spring to rejuvenate the plant and control its size.
Lungwort is a low-maintenance plant that is deer and rabbit resistant but here are a few extra tips to ensure optimal growth!
- Dry conditions can lead to powdery mildew and leaf scorch. If plants decline or are affected by powdery mildew, prune them back to ground level as well.
- Clean up in the spring by removing old or damaged foliage from the previous year.
- In our cold climate provide a layer of pine bark mulch at the base of the plant in late fall.
Embrace the allure of Pulmonaria in your garden, and you’ll be rewarded with a delightful display of color and texture. With its eye-catching foliage, early spring blossoms, and adaptability, Lungwort is a valuable addition to any garden, bringing beauty and biodiversity to your outdoor space.

Cultivars:
‘DARK VADER’ -is noted for its combination of dark, thick leaves with silver spotting and its compact habit with pink to dark blue flowers. 10” TALL 19” WIDE
‘SPOT ON’- flowers open a unique deep salmon pink that matures to a rich blue color. Silver speckling dusts the green leaves. This is one of the first Pulmonaria to have near-orange flower buds. 14-16” TALL 18-20” WIDE
‘PINK A BLUE’ -Pink flower buds open to medium blue flowers in early spring. Buds and blooms appear at the same time for an alluring two tone effect. Compared with ‘Spot On’, the flower buds are pink instead of salmon, the flowers open a lighter blue, and the foliage is dark as opposed to light green and narrower. 16-18” TALL 22-24” WIDE
‘PRETTY IN PINK’ – Large, bright rose-pink flowers stay consistently pink and are produced in large flower clusters over a low and wide habit. Dark green leaves are lightly to moderately speckled with silver. 14-16” TALL 24-28” WIDE
‘RASBERY SPLASH’- Brightest raspberry and deep purple blossoms on upright heavily spotted lance-like leaves. Chosen for its intense color, upright habit and profuse flowering. 12” TALL 18” WIDE
‘HIGH CONTRAST’- Brilliantly contrasting foliage and one that can handle the dry heat! Large pink flowers fade to blue over mildew-resistant foliage. Nice mounding habit. The wavy, spear shaped leaves are dark green, infused with melting silver. 9” TALL 18” WIDE
‘TREVI FOUNTAIN’ -This superb, brightly silver-spotted beauty will give rise to profuse clusters of large cobalt-blue flowers in spring. A true dark-blue and grows into a magnificent landscape specimen.11” TALL 25” WIDE
‘OPAL’- features delicate clusters of sky-blue bell-shaped flowers at the ends of the stems from mid to late spring, which emerge from distinctive shell pink flower buds. Its attractive narrow leaves remain emerald green in color with distinctive silver spots throughout the season. 12” TALL 15” WIDE
Great Companion Plants
Astilbes
Bleeding hearts
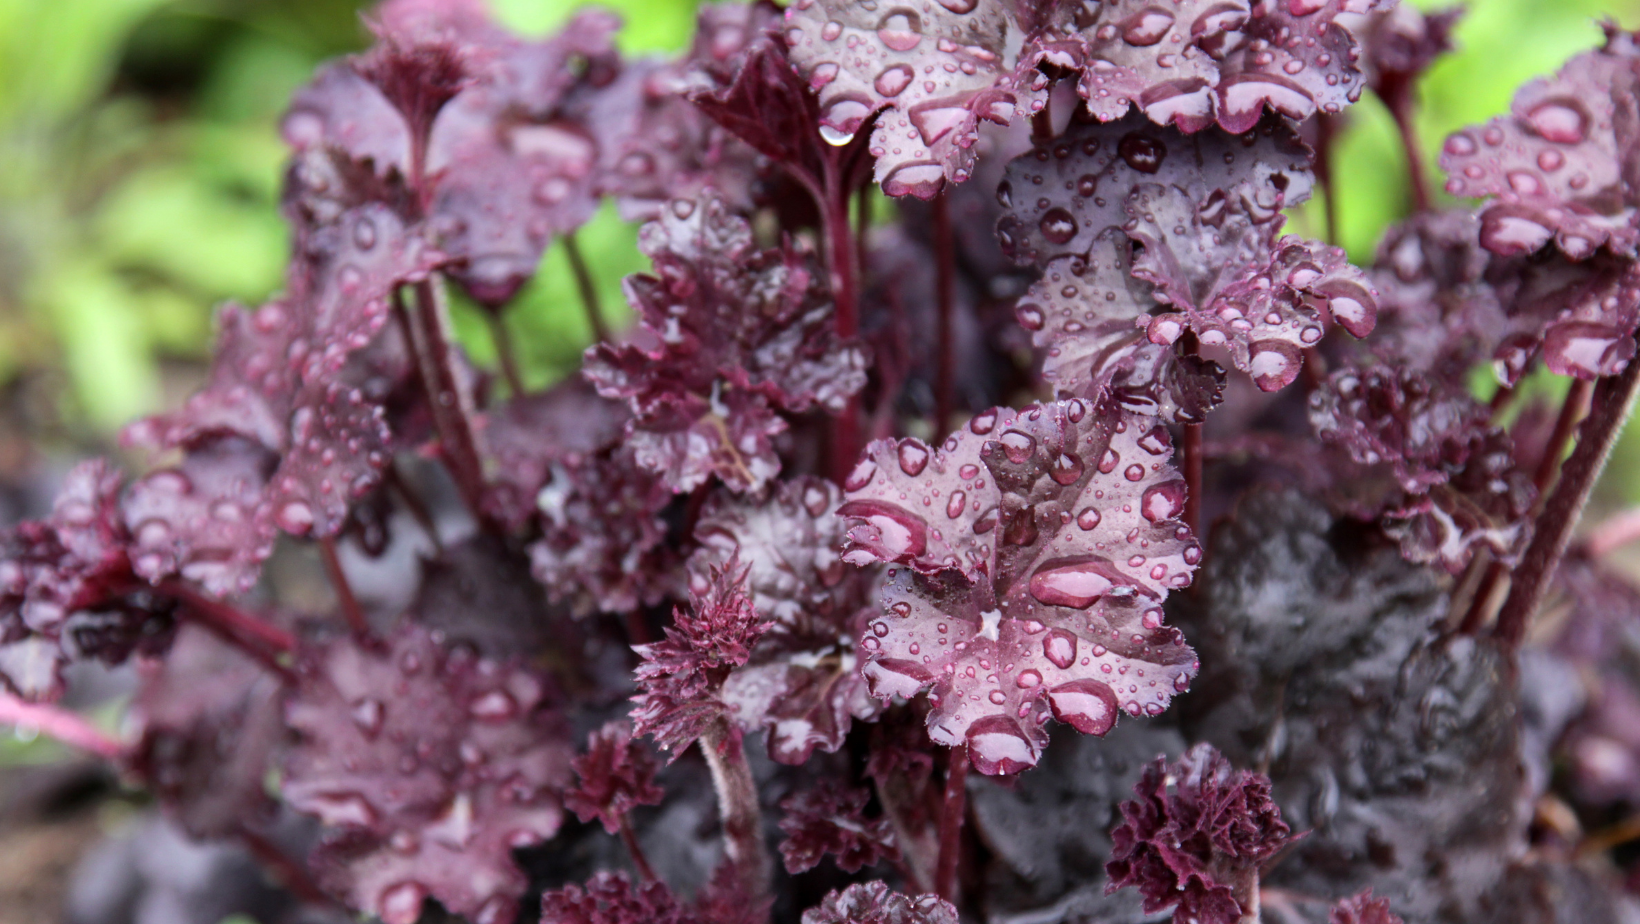
Coral Bells
Foam Flowers
Ferns
Hellebores
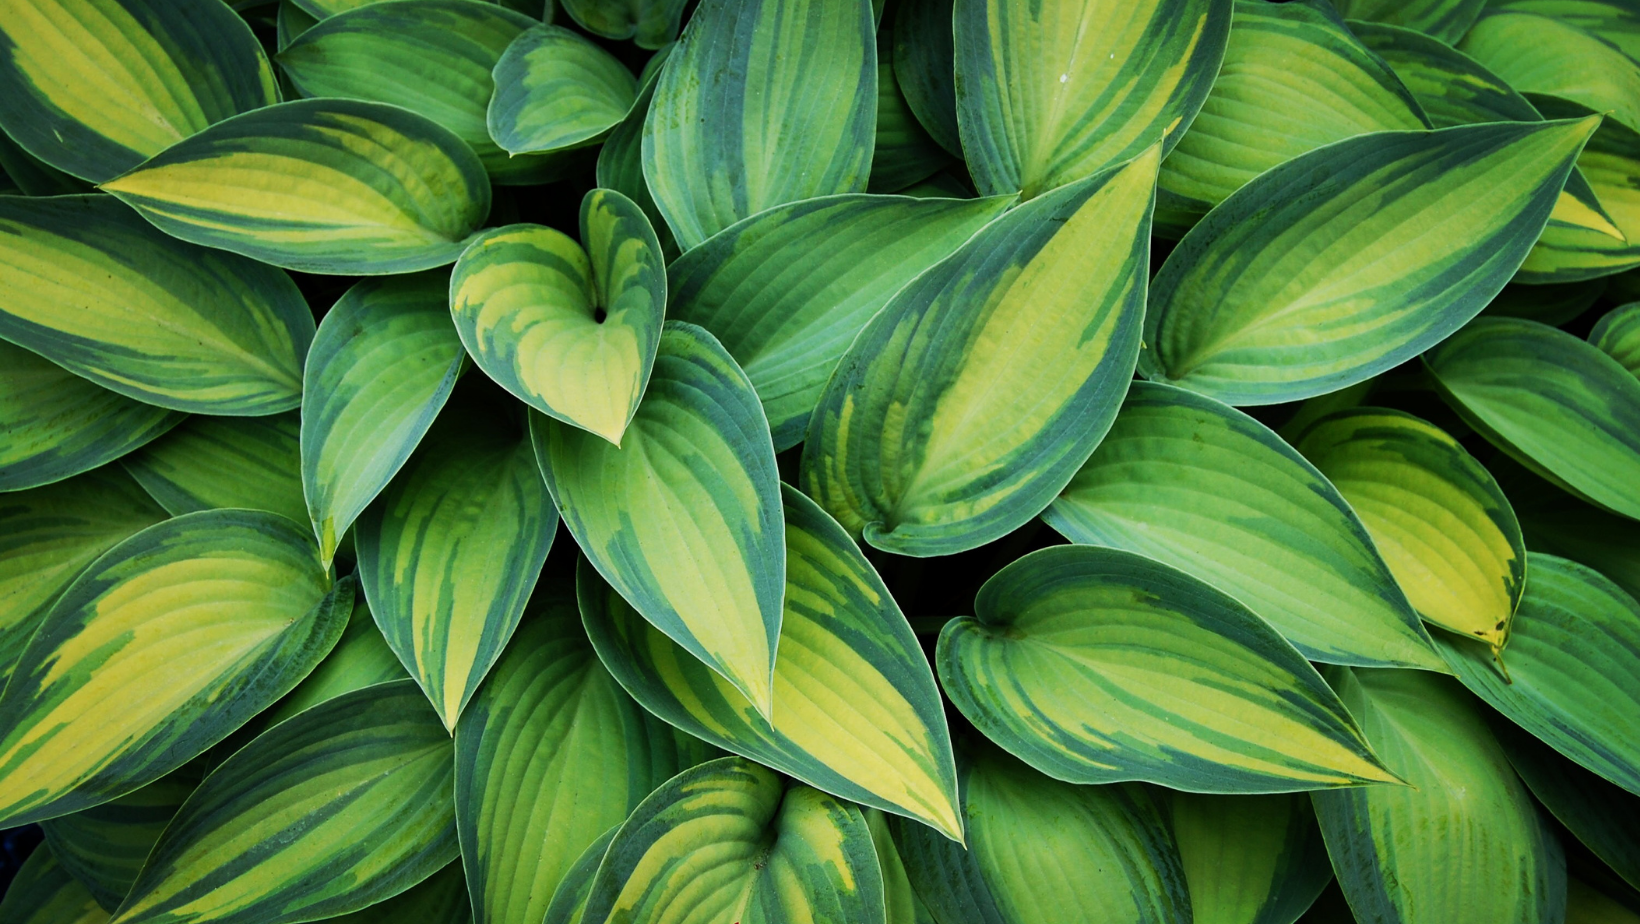
Hosta


 has a spicy clove like scent. With dead heading and feeding these plants can re-bloom throughout the summer. (pictured right)