The Secret to a “Sunday Garden”… Starts with Boxwood
There’s a reason the most beautiful gardens feel so calm, so put together… so effortless.
It’s not just the flowers.
It’s the structure underneath—the quiet, evergreen backbone that makes everything else shine.
And that’s where boxwood comes in.Right now, we’re fully stocked with better boxwood varieties—including Skylight, Babylon Beauty, and Renaissance—and to make it even better:
🌿 Why Boxwoods Are the Foundation of a Beautiful Garden
Think of your garden like a perfectly styled room.
Flowers are the accessories…
But boxwoods? They’re the furniture.
They create:
- Clean lines and definition
- Year-round structure and color
- A sense of calm, organized beauty
That “Sunday Garden” look everyone is loving right now?
It’s built on structure + softness.
Boxwoods give you the structure.
✨ The Look: Structured, Soft, Timeless 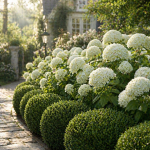
Picture this:
Clipped boxwoods lining a walkway…
Soft white hydrangeas billowing behind them…
A simple, cohesive palette of greens, whites, blush, and lavender…
It feels peaceful. Elevated. Effortless.
And the best part?
It’s incredibly achievable.
🌿 Meet Our Better Boxwoods
We’ve carefully selected varieties that perform better in our region:
Skylight – A beautiful upright form, perfect for adding height and elegance to entrances or corners.
Babylon Beauty – Dense, rich, and classic—ideal for low hedges and foundation plantings.
Renaissance – Vigorous and resilient with excellent disease resistance, great for mass planting and structure.
These aren’t just any boxwoods—these are modern, improved selections that handle our conditions better and stay looking good year-round.
🌱 Where to Use Them
Boxwoods are one of the most versatile plants you can add to your landscape:
- Frame your front walkway
- Line garden beds for a polished edge
- Anchor corners of your home
- Create symmetry around entryways
- Build a simple hedge that elevates everything behind it
Even adding just a few instantly makes your garden feel more designed.
🌼 The Perfect Time to Plant
Early season is one of the best times to plant boxwoods.
Cooler temperatures and spring rains help them establish quickly before summer heat arrives.
Just remember:
- Water deeply after planting
- Add 2–3 inches of mulch (but keep it off the stems)
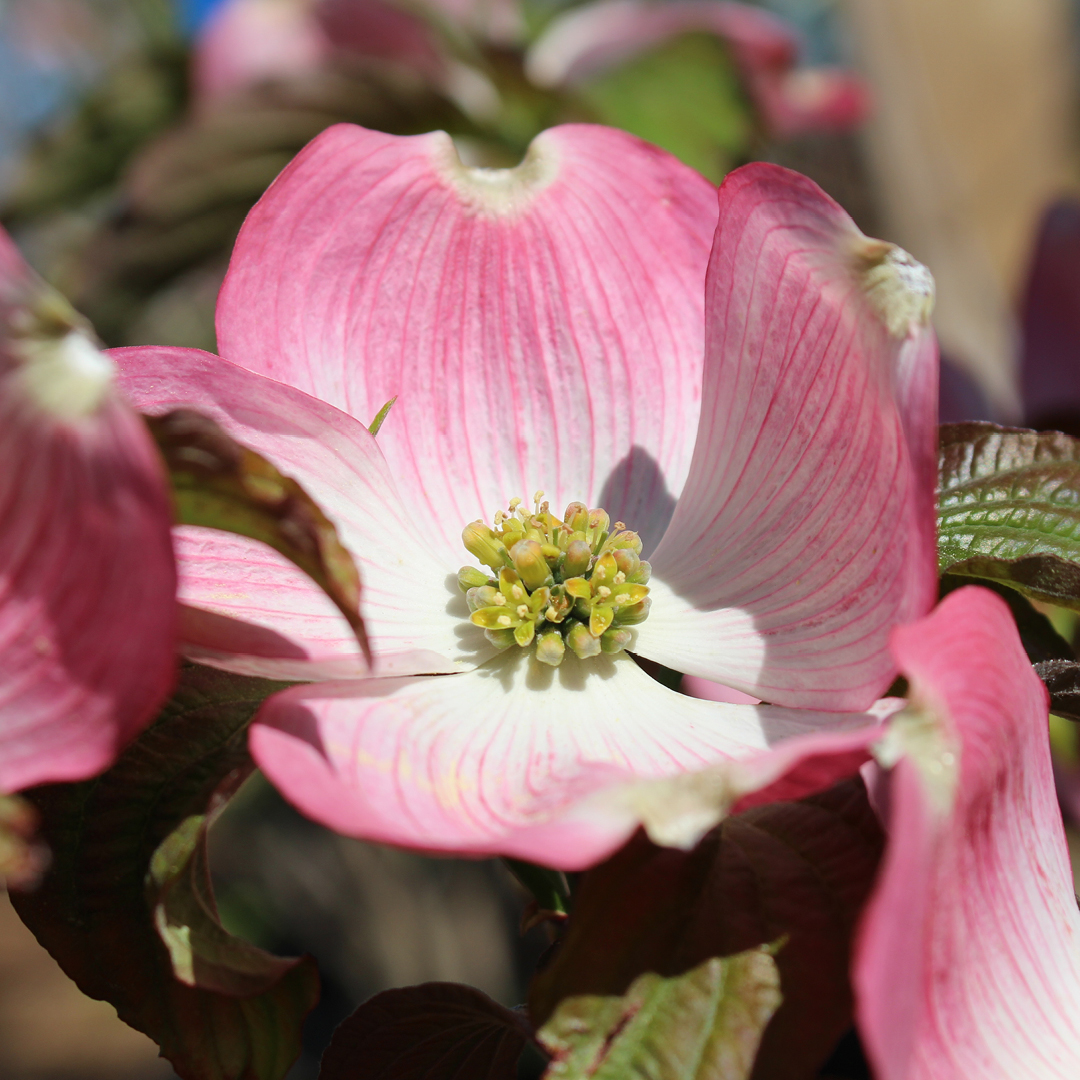
 anchor a border, frame a property, or create a flowering privacy screen that feels anything but ordinary.

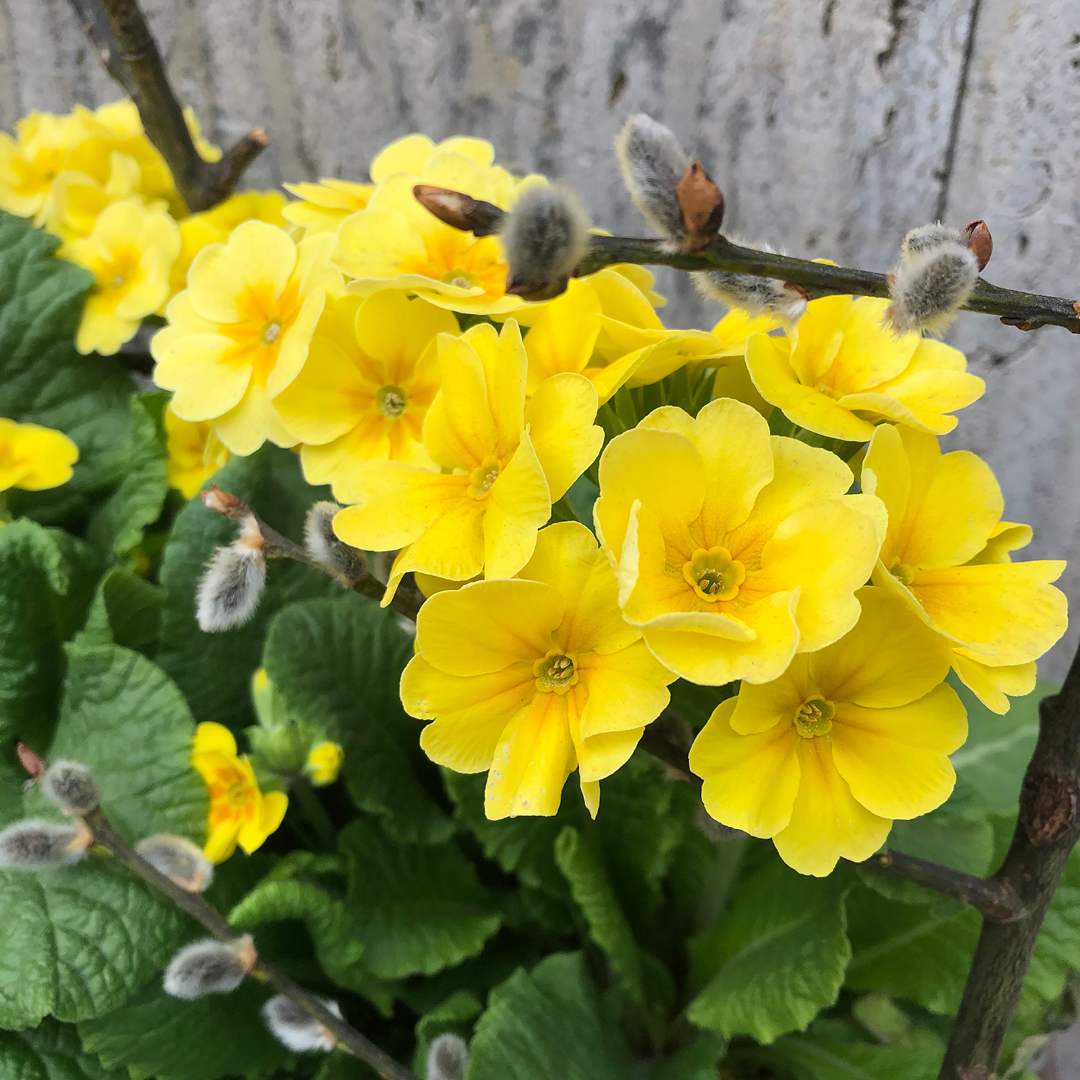
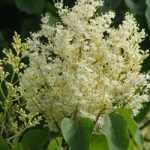 ‘Sensation’ can feel like a blooming cloud in spring, while still offering structure throughout the rest of the year.