Looking for a landscape design that delivers curb appeal without demanding your weekends? It might be time to discover the benefits of decorative stone! Stone, rock, and gravel offer practical, polished solutions that minimize upkeep, maximize style, and provide significant long-term savings. If you’re eager to take yard maintenance off your to-do list without sacrificing an attractive outdoor space, you’re in the right place! D.R. Snell is here to guide you through everything you need to know about creating a stunning, low-maintenance landscape with rock.
Why Choose Rock?
Decorative rock landscapes go far beyond simple aesthetics. When you invest in a rock-based design, you’re choosing function, longevity, and a welcome break from repetitive yard work. Here are some core reasons why more property owners are switching to rock:
Long-Lasting Impact
Unlike wood mulch, which decomposes and demands frequent replenishing, decorative stone persists for five years, a decade, or even longer. Rock holds its color, resists breakdown, and keeps your yard looking consistent year after year. This translates into more time and money saved on outdoor upkeep.
Excellent Weed Suppression
When properly installed over quality landscape fabric, decorative rock forms a powerful physical barrier that blocks most weeds from emerging. This simple step reduces your need for herbicides and slashes your time spent on hands-and-knees weeding.
Minimal Watering
While organic mulch can help retain moisture, it often requires maintenance and doesn’t reduce the need for watering as much as you might think. Rock needs no watering at all. When paired with drought-tolerant plants, such as succulents, or xeriscaping, a rock landscape becomes a water-efficient solution offering both immediate and long-term environmental benefits.
No Decomposition or Pest Risk
Mulch is organic, which means it breaks down over time and can invite termites, ants, and pests. Rock, on the other hand, never decomposes, attracts fewer pests, and stays put even during heavy storms or wind. This results in a cleaner, more predictable landscape.
Fire Resistant & Durable
Decorative stone adds a layer of fire resistance to your property, which is especially critical in wildfire-prone regions. Rocks don’t burn, and they serve as a natural buffer near outbuildings, fences, or homes.
Where to Use Rock?
At D.R. Snell, we often hear customers ask, “Where exactly should I use decorative rock?” The answer is almost anywhere! Rock is one of the most versatile materials in landscaping, offering beauty and durability in every corner of your outdoor space.
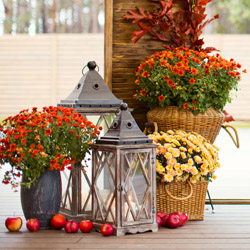
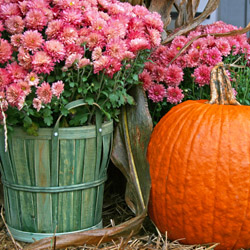
Long-Term Garden Beds
Start by replacing mulch in your permanent garden beds. Decorative stone stays in place longer, resists fading, and won’t break down like wood chips, making it a significant upgrade around shrubs, trees, and perennials.
Patios, Paths, & Seating Areas
Rock is also ideal around patios, along walkways, and under outdoor seating or play areas where grass struggles to grow. It provides a smart, low-maintenance solution that maintains high curb appeal. It also performs beautifully in high-traffic zones, such as front entrances, signage beds, or along driveways, especially where you want a tidy, professional look without constant upkeep.
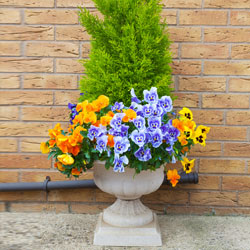
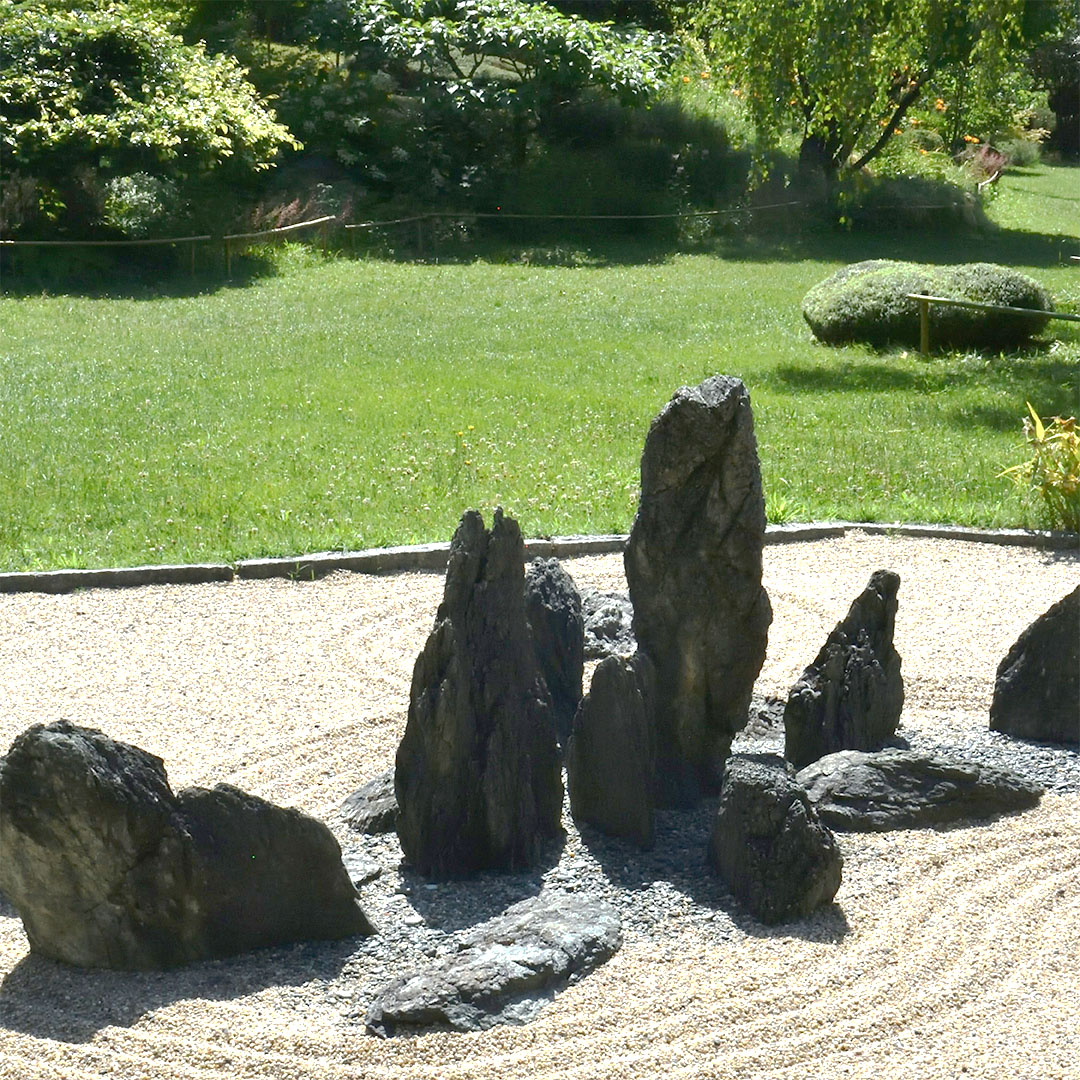
Types of Landscape Rock
With such variety in shape, color, and texture, landscape rock is more than just functional—it’s a stunning design element. Some popular options include:
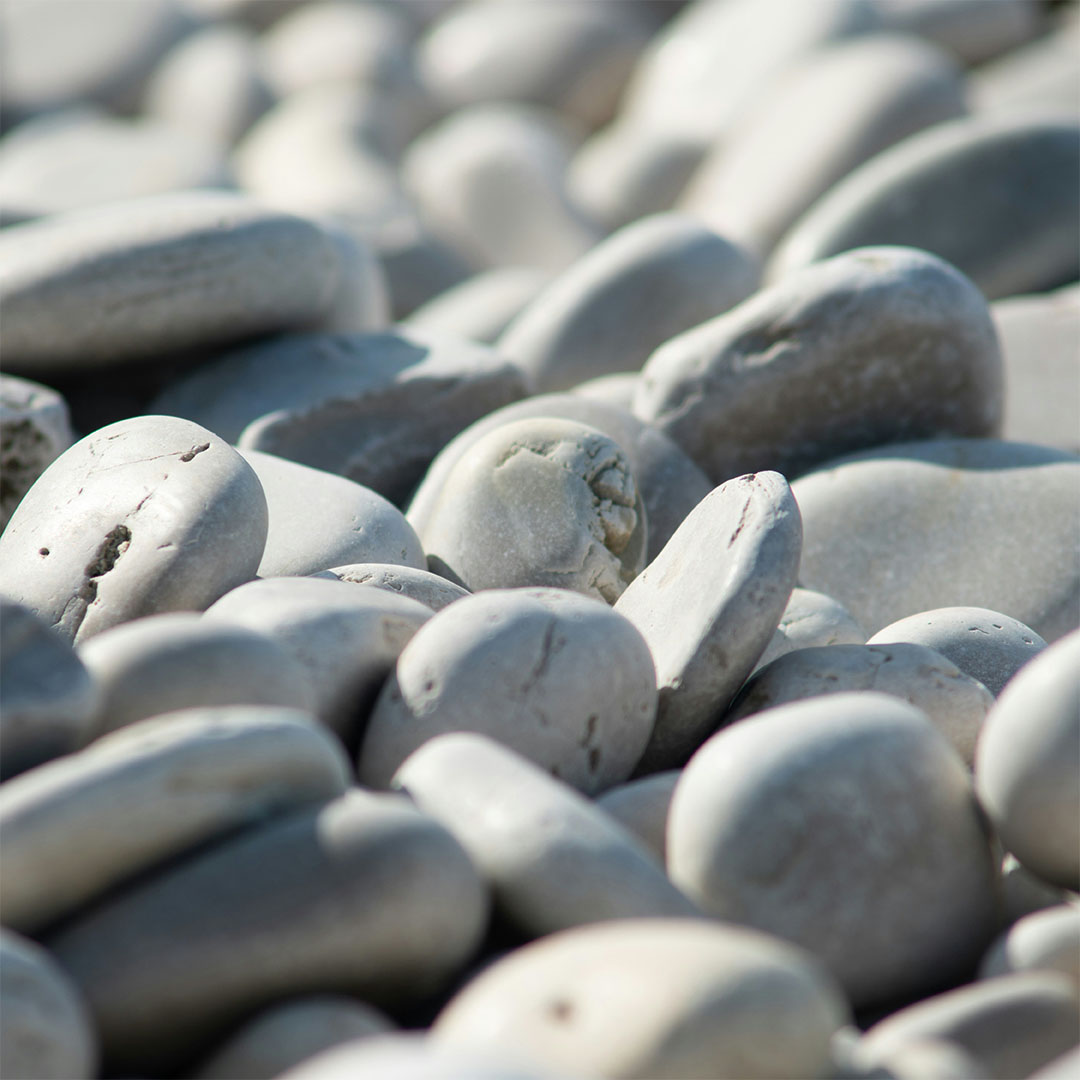
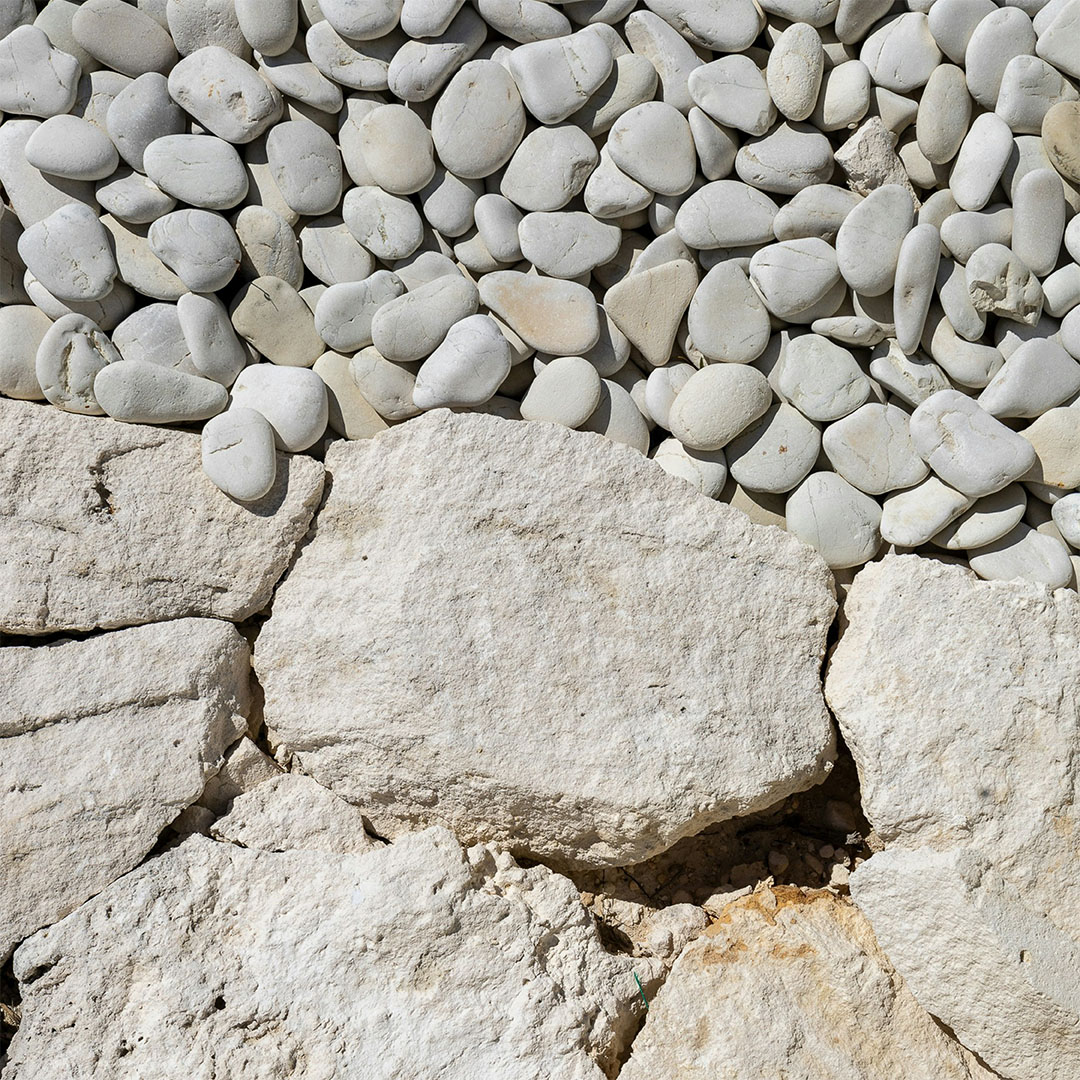
- River Rock: Smooth, rounded stones available in multiple colors and sizes. Perfect for naturalistic designs, dry creek beds, and defining garden borders.
- Crushed Limestone: Clean and tightly compacting, making it ideal for driveways, walkways, and fire pit zones.
- Pea Gravel: Small pebbles that provide comfort underfoot. Excellent for patios, playgrounds, or paths.
- Slate Chips: Angular and modern, often used for high-contrast, contemporary beds and commercial plantings.
- Decomposed Granite: A firm, drainage-friendly surface that packs tightly for paths, patios, or even outdoor seating areas.
- Lava Rock: Lightweight, porous, and bold in color. Offers excellent drainage and a distinctive aesthetic for specific applications.
Selecting the right rock can enhance both function and visual appeal, so consider the colors and textures that harmonize with your home’s exterior or business brand.
Maintenance Tips
A landscape built with stone offers impressive reductions in maintenance, but a little effort goes a long way toward keeping it pristine. Consider these proven tips:
- Install High Quality Landscape Fabric: Always start with a professional-grade fabric beneath the stone. This keeps weeds at bay, allows rainwater through, and prevents rocks from mixing with the soil below.
- Refresh the Surface Layer Occasionally: Over time, tracks and settling may cause heavily trafficked areas to thin out. Adding a fresh top layer every few years will restore uniformity and color vibrancy.
- Use Proper Edging for Containment: Edge beds with steel, concrete, or stone borders to prevent rock migration into lawns or other planting areas.
- Keep Debris Under Control: Use a blower or light rake to clear leaves and organic matter in fall and spring.
- Apply Pre-Emergent Herbicide: For added security against weeds, treat beds with pre-emergent product once or twice a year, or as needed.
- Rinse Rocks: If dust or mud builds up, rinse with a garden hose or use a pressure washer on the lowest setting to restore their natural look as needed.
How to Select the Right Materials
How does decorative stone compare with organic mulch or a turf-heavy yard? Here’s a breakdown:
| Material |
Maintenance Level |
Best Applications |
Longevity |
| Rock |
Very Low |
Permanent Beds |
5 – 10+ years |
| Mulch |
Moderate |
Flower Beds
Annual Gardens |
1 – 2 years |
| Turf |
High |
Play Areas
Lawns
Dog Runs |
Ongoing |
If your goals include lasting impact, hassle-free ownership, or improved property value, rock is typically the standout choice.
Stunning Results with Minimal Effort
A well-designed rock landscape offers lasting beauty with minimal work. The right mix of stones can add dynamic texture, highlight architectural features, and give your property a cohesive, professional appearance. By making smart choices up front, you can achieve eye-catching curb appeal and enjoy true low-maintenance living for years to come.
D.R. Snell provides an extensive range of landscape stone, from classic river rock to dramatic granite chips. Our staff is ready to help you calculate quantities, select complementary rock types, and even assist you with installation. Whether you’re revamping a single bed or tackling a multi-acre project, we’re here to help every step of the way.