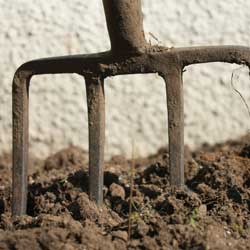
It’s cold outside and the compost pile is frozen. Do you really feel like hauling kitchen scraps out into the winter wasteland only to have them picked through by scavengers when there isn’t enough bacteria available to break them down? Fortunately, there is an alternative. Keep your kitchen scraps cooking this winter and producing buckets of black gold for the garden next spring while you stay warm and cozy. Try the three-bucket system in your basement or heated garage – no odor, no pests and very easy!
The 3-Bucket System
Try these easy steps for the 3-bucket composting system in your basement or heated garage, where there is just enough warmth to keep the system operating without the microbes and outer layers of the compost freezing. Five-gallon painter buckets with lids work great or plastic trash cans with lids make the job a cinch. Even better are cans with wheels, so you can easily move your compost out to the garden for spring use!
- Fill bucket #1 with sawdust or peat moss mixed with equal parts dry soil. Add a little limestone and cover with lid.
- On the bottom of bucket #2, place about one inch of dry straw, leaves or shredded newspaper. Dump your kitchen scraps on top as they become available, each time sprinkling on some of the sawdust/soil mixture from bucket #1 to absorb odors and excess moisture. If you have a lot of scraps to add all at one time, portion them out and add as smaller amounts, covering each addition with the sawdust/soil mixture. Replace the lid after each addition. If there are any large pieces of scraps you may want to chop them smaller before adding to help speed the decomposition process. If your scraps are holding excess water, let them drain well before adding them to the bucket.
- When bucket #2 is full start filling bucket #3, using the same process you used with bucket #2. By the time bucket #3 is full, the contents of bucket #2 should be well on the way to becoming compost. Despite calling this the 3-bucket system, you can actually keep adding as many buckets as you need through the winter, but number them appropriately so you can keep track of which ones are most composted to be used first.
- Use and enjoy in the spring!
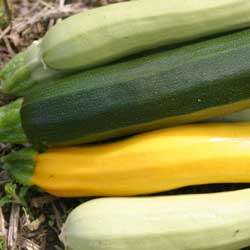
While the 3-bucket compost system won’t replace your compost pile, it’s still a great way to continue composting through the winter so you have plenty of rich, organic material to add to your garden in spring. Don’t let the scraps and waste from winter days be lost in the trash – turn that trash to treasure for your garden!