Author Archives: D.R. Snell Nursery

Spotting Early Spring Natives

Spring is a magical time in the garden, signaling renewal and the emergence of native plants that have weathered the winter dormancy. Recognizing these early bloomers and foliage can help gardeners plan for succession planting, provide early food for pollinators, and ensure a cohesive, thriving landscape. Understanding their characteristics and growth habits is key to identifying and nurturing them successfully.

Understanding Native Plant Emergence

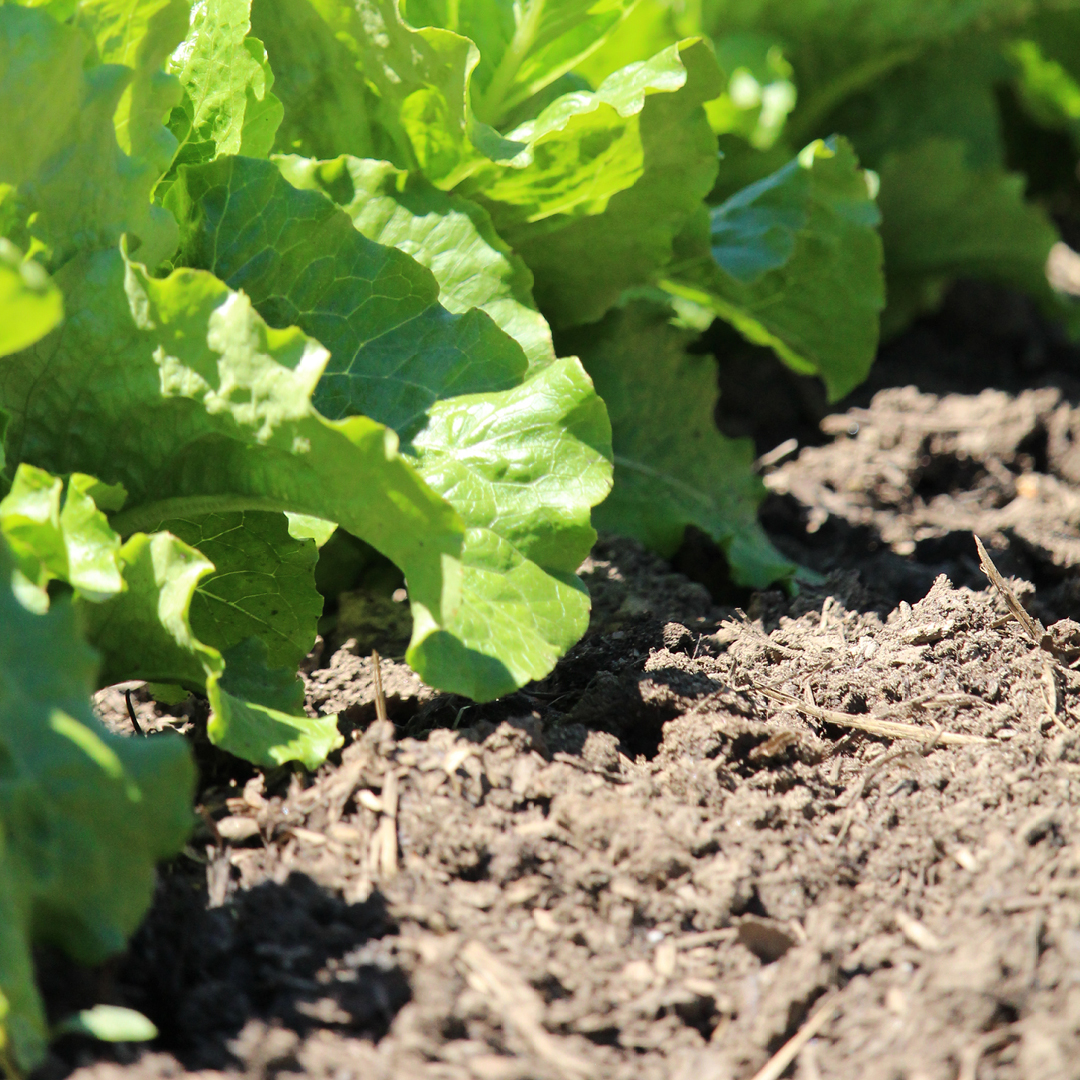
Native plants have evolved to respond to local seasonal cues such as temperature, soil moisture, and day length. In early spring, many perennials, shrubs, and trees break dormancy with subtle signals—tiny shoots, swollen buds, or early flowers. Recognizing these cues allows gardeners to provide appropriate care, such as early mulching, protective watering, or frost precautions.

Key Identification Tips

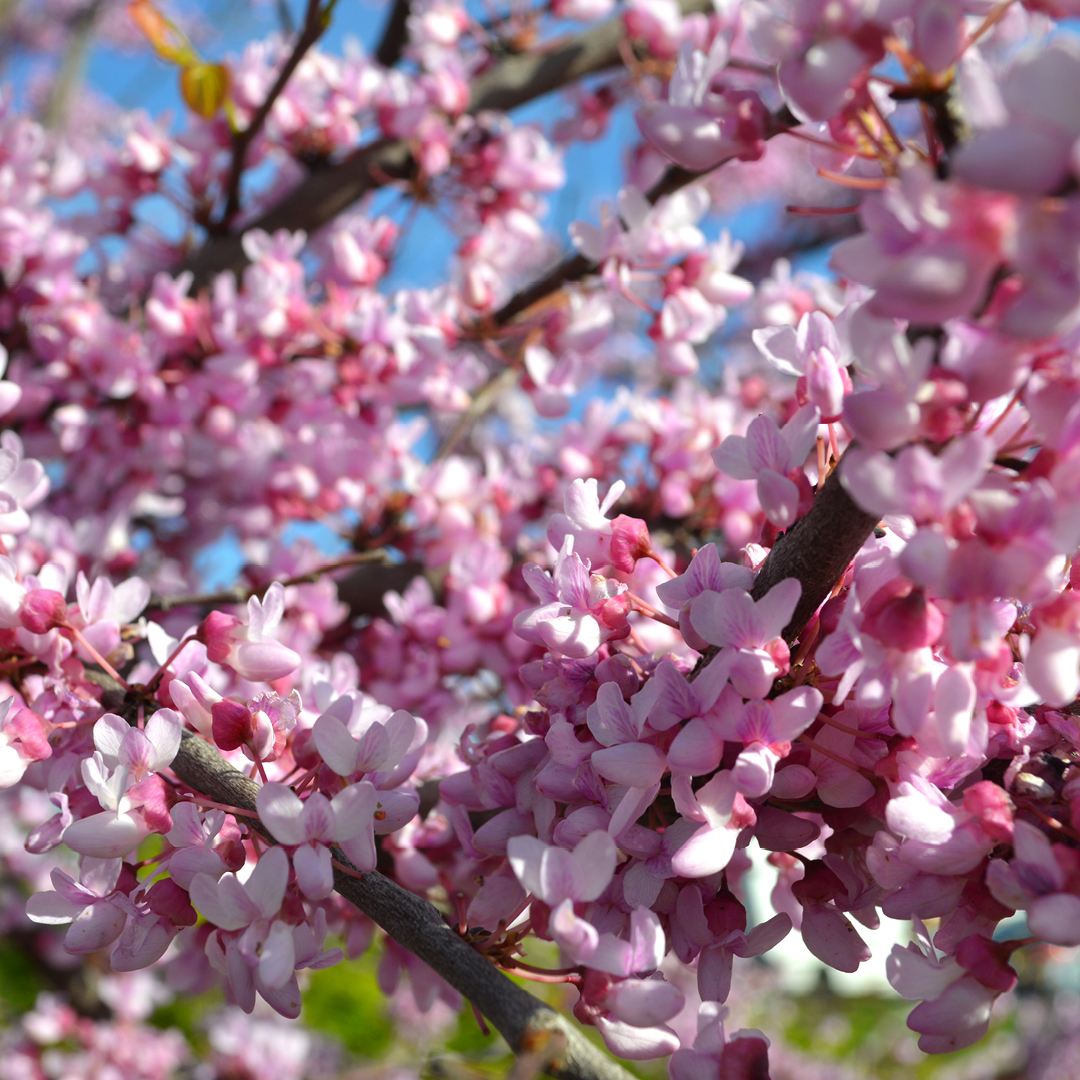
  1. Bud Characteristics: Look for swollen, often brightly colored or fuzzy buds on trees and shrubs. Species such as witch hazel, spicebush, and redbud exhibit distinct early swelling before leaf emergence.
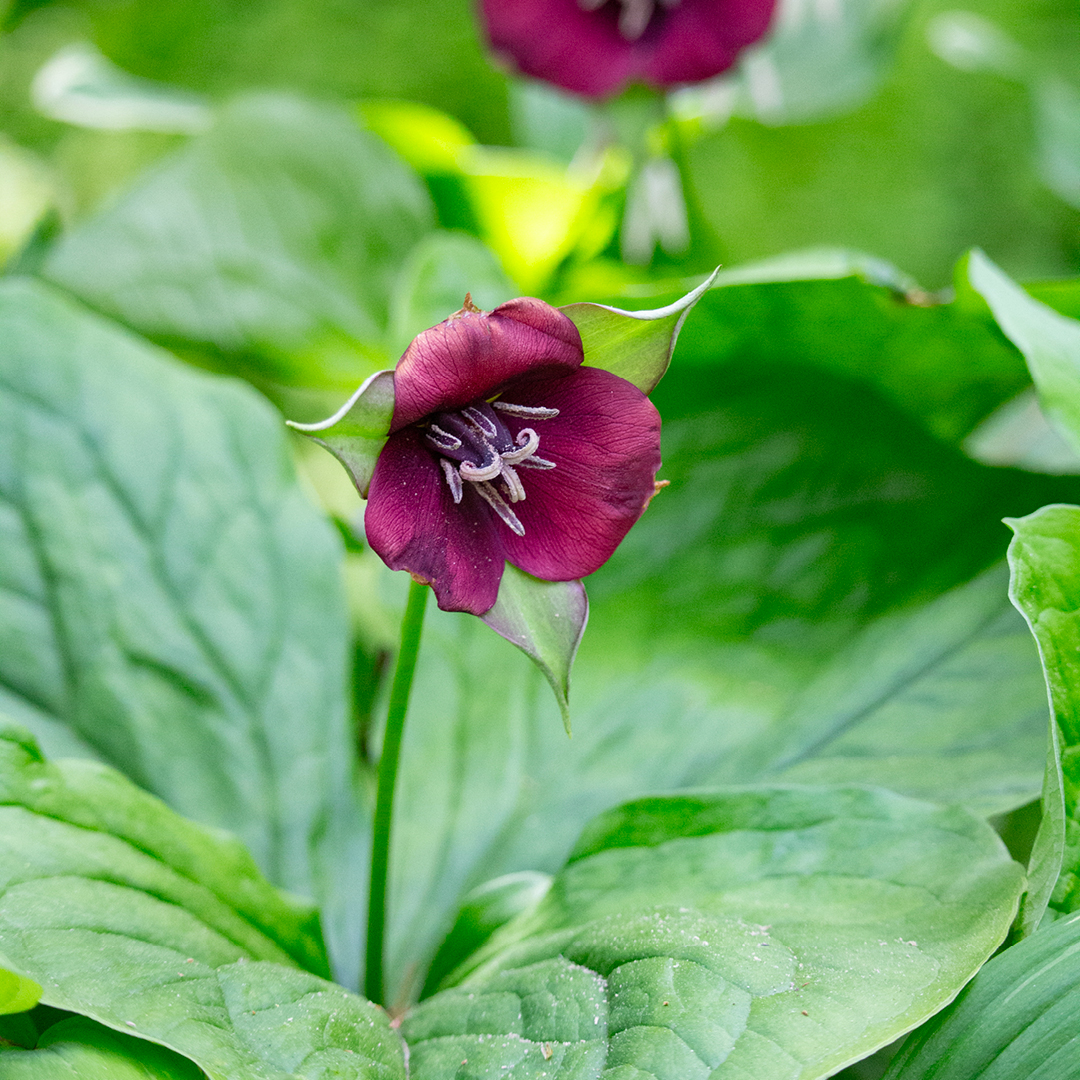
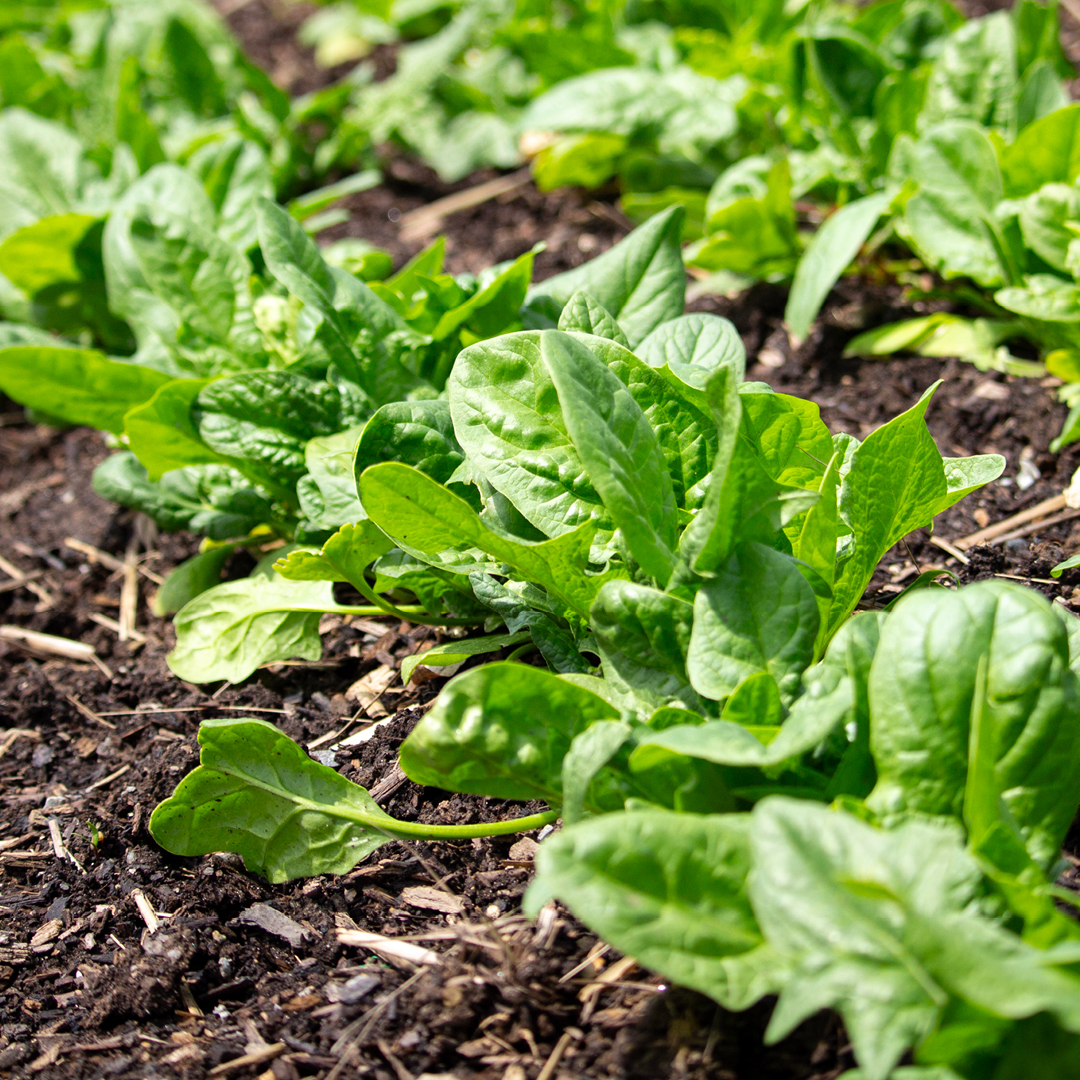
  2. Ground-Level Shoots: Early-emerging perennials like bloodroot, trillium, and Virginia bluebells send up basal shoots that can be distinguished from weeds by their smooth, often glossy texture.
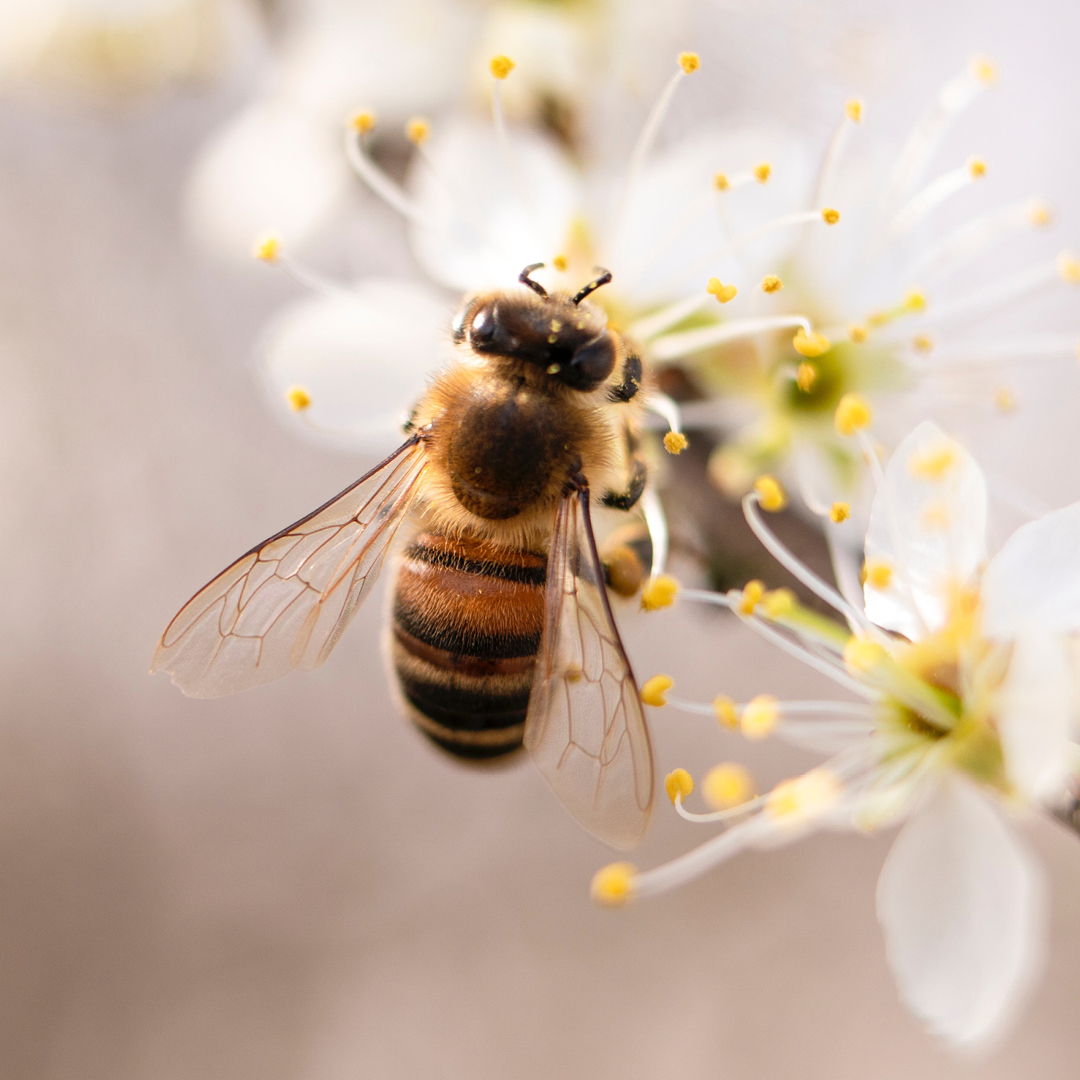
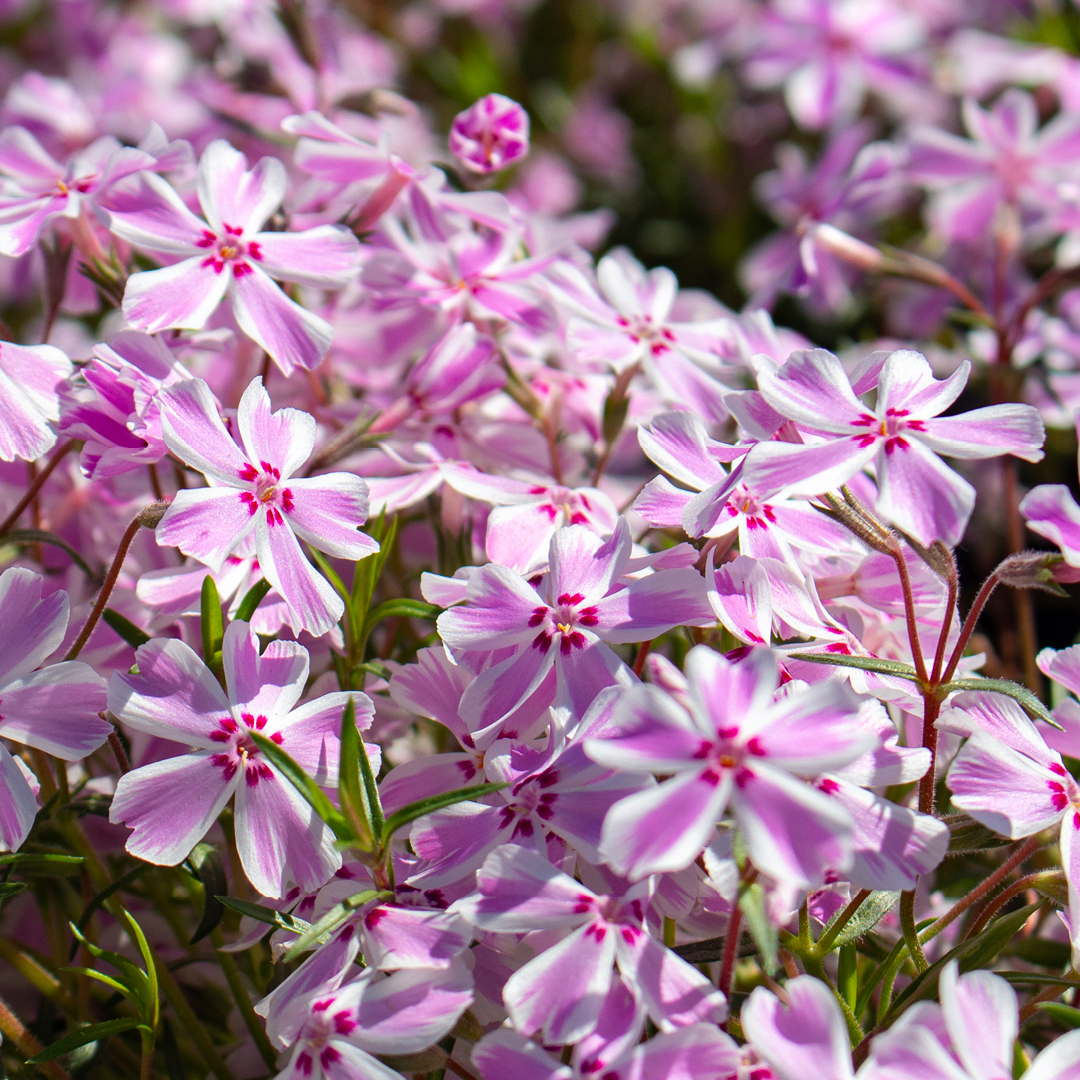
  3. Flowering Before Leafing: Some natives bloom before their foliage fully develops. Hepatica, bloodroot, and spring beauties are prime examples, providing nectar for early pollinators.
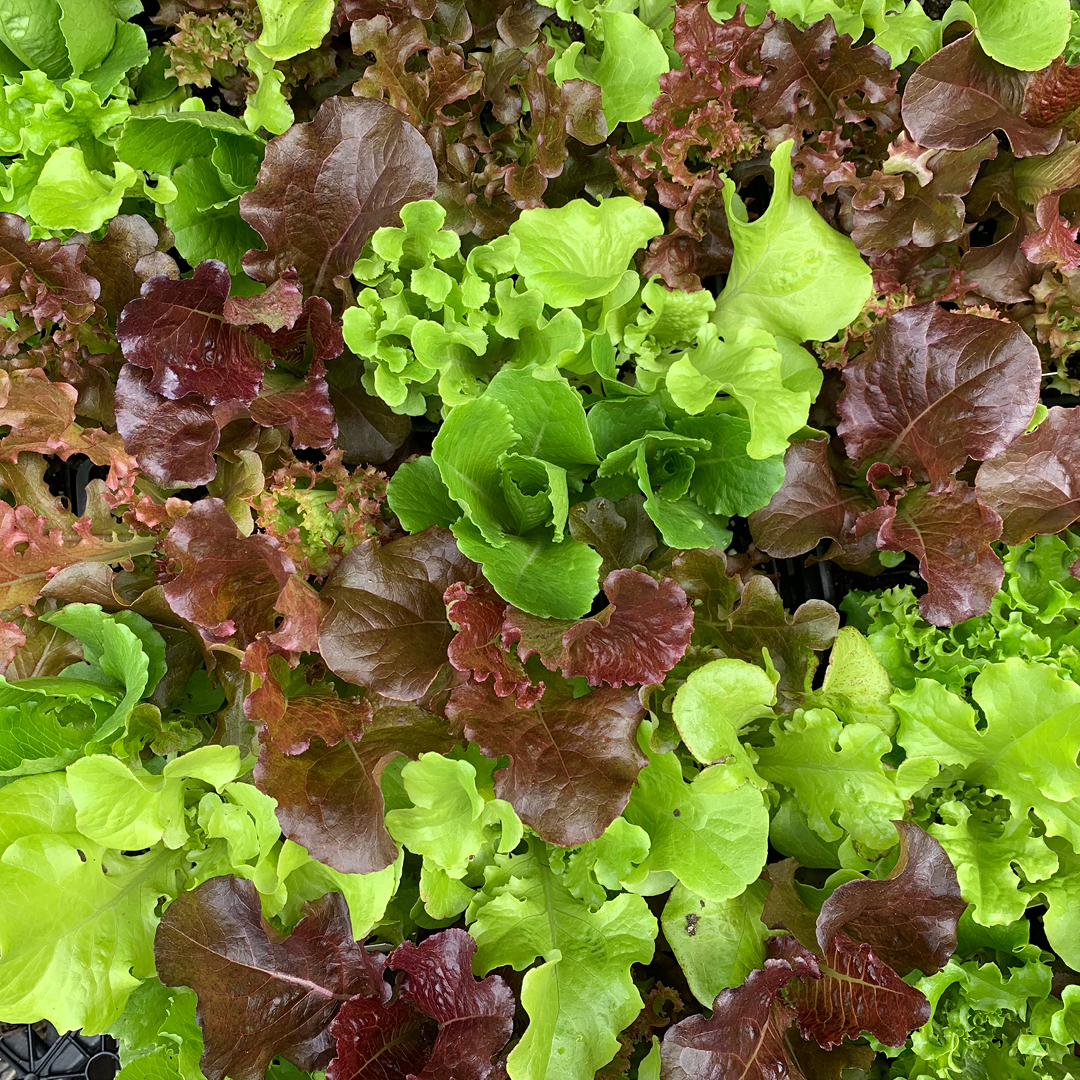
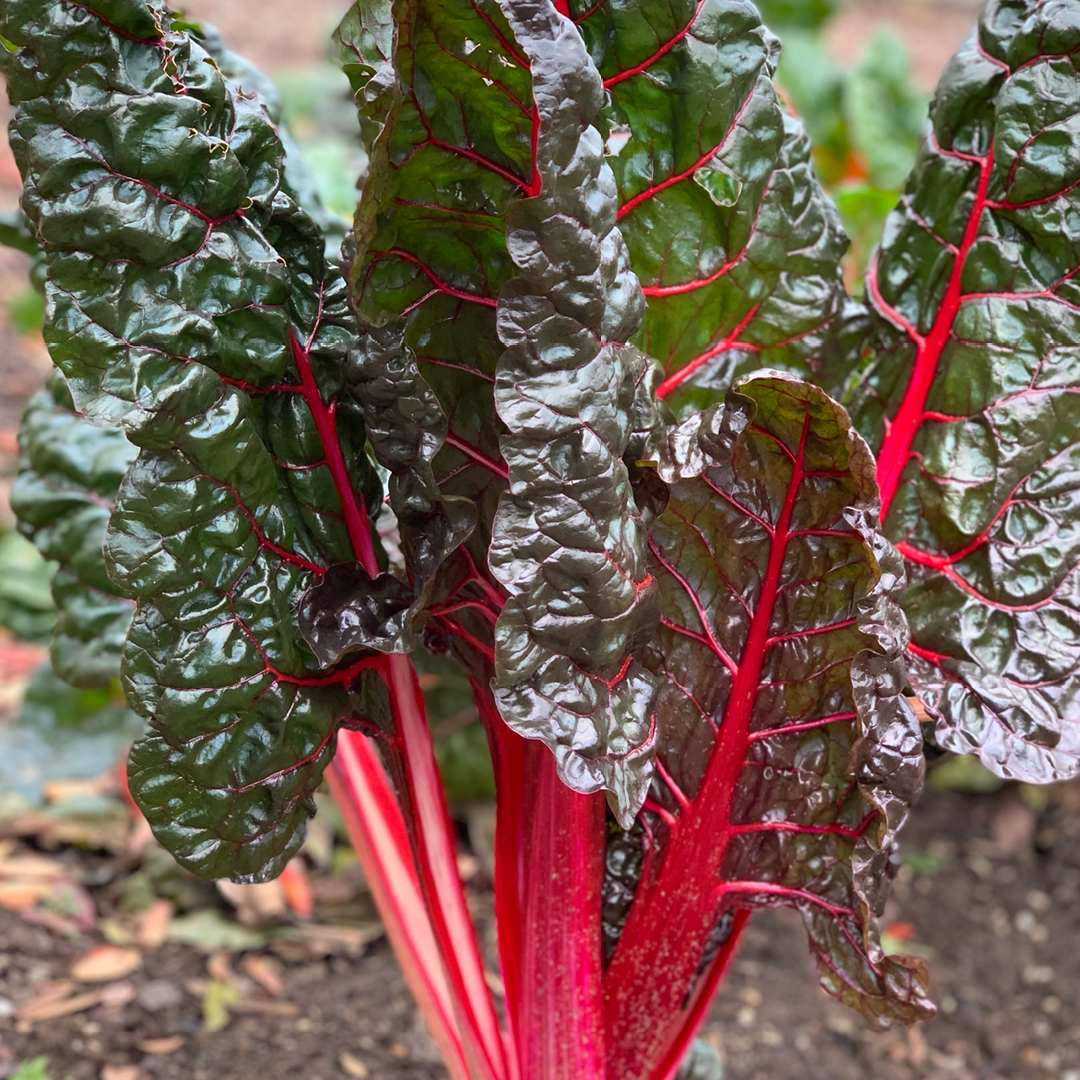
  4. Leaf Shape and Texture: Young leaves often have unique shapes or colors. For example, mayapple emerges with umbrella-shaped leaves, while jack-in-the-pulpit produces a distinctive hooded foliage. Observing these traits can confirm species identity before flowering occurs.
  5. Soil and Microclimate Clues: Many early natives prefer specific conditions. Moist woodland areas may host trillium and wild ginger, while drier, well-drained slopes encourage wild columbine and native geraniums.

Observing Growth Patterns

Native plants often emerge in a predictable sequence, from the earliest ephemerals to later perennials. Maintaining a garden journal or photographing early growth can help track which species emerge first, assisting with future landscape planning and providing insight into seasonal variations.

Encouraging Early Growth

While native plants are adapted to local conditions, gardeners can support healthy early emergence by:

  • Applying a thin layer of mulch in late winter to moderate soil temperature.
  • Ensuring adequate moisture without waterlogging.
  • Avoiding early fertilization that may stimulate excessive tender growth susceptible to frost damage.

Benefits of Recognizing Early Natives

Identifying early-emerging native plants provides multiple advantages. These plants often:

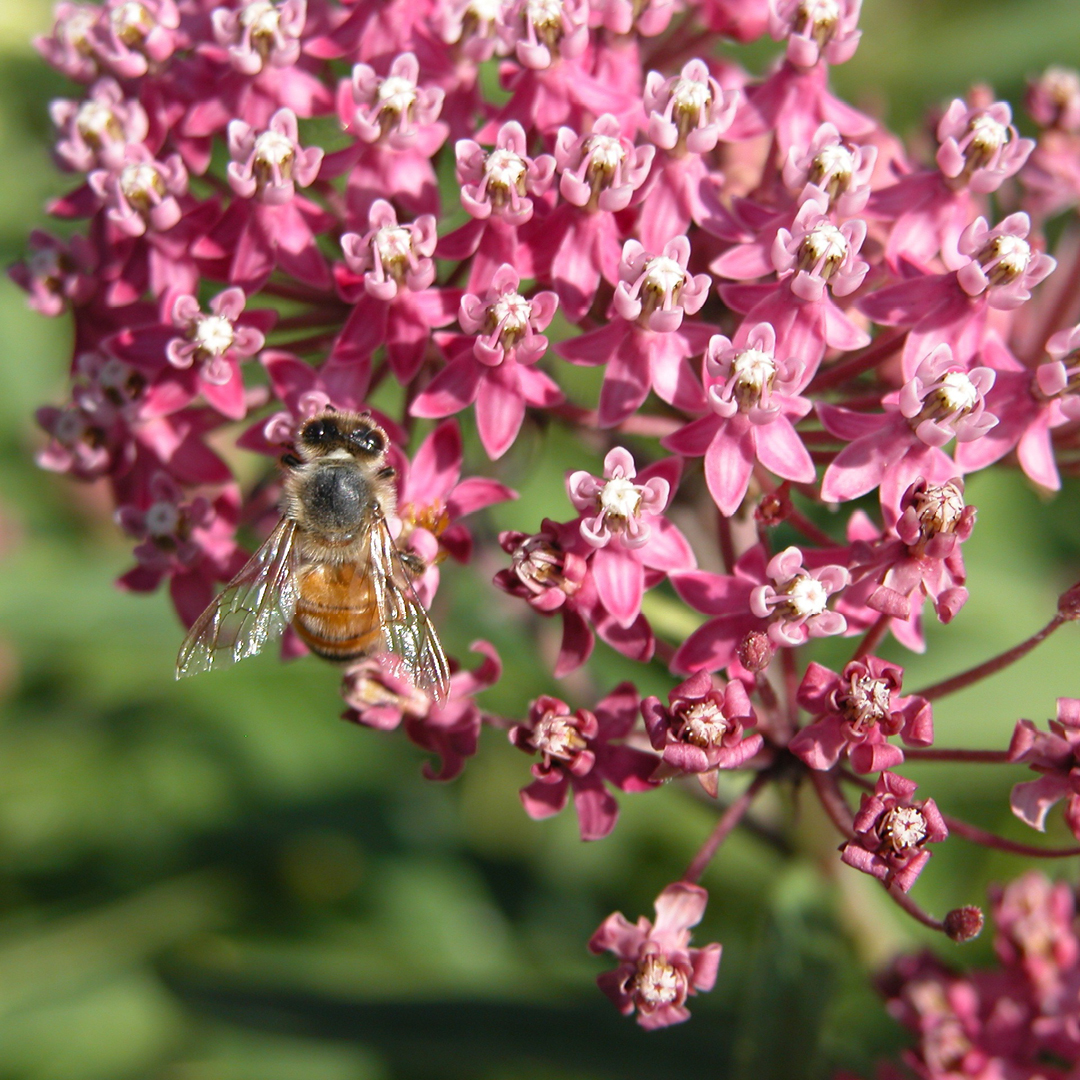
  • Supply essential nectar and pollen for emerging pollinators.
  • Establish a foundation for layered plantings that provide continuous interest throughout the season.
  • Serve as indicators of soil health and microclimate suitability for other plantings.

By paying attention to subtle cues and familiarizing yourself with native species’ early growth traits, you can foster a thriving, biodiverse garden that supports wildlife and celebrates seasonal change.

D.R. Snell Nursery encourages gardeners to take a closer look each spring and discover the first signs of life that herald the season ahead.

early spring natives

March Garden Momentum

March signals the true start of the growing season. As nature wakes up—buds swelling and daylight stretching—it’s the perfect time to set the stage for a thriving garden. Use this early spring checklist to help your landscape transition smoothly into the active months ahead.

Inspect and Tidy Garden Beds

Winter often shifts plants and leaves behind debris.

  • Remove Debris: Clear fallen branches and leftover leaves that may harbor pests.
  • Avoid Compaction: Steer clear of walking on thawing soil to prevent damaging its structure.

Prune Shrubs and Trees

Now is the ideal time to shape up your woody plants before new growth emerges.

  • Prune Now: Fruit trees, roses, and summer-blooming shrubs. Remove dead wood and cross-branching stems.
  • Wait to Prune: Spring bloomers like lilac, forsythia, and magnolia should only be pruned after they flower.

Divide Perennials

Enhance plant vigor by dividing overcrowded clumps as soon as growth appears.

  • Target Plants: Hostas, daylilies, ornamental grasses, and coneflowers benefit greatly from division now.

Prepare the Soil

Healthy soil is the foundation of a resilient garden.

  • Amend Soil: Once the ground is workable (not muddy), mix in compost or organic matter to boost nutrient content and moisture retention.

Start Seeds Indoors

Give cool-season crops a head start under grow lights.

  • Sow Now: Lettuce, kale, broccoli, snapdragons, and petunias. Always check your local frost date guidelines for timing.

Maintain Garden Tools

Sharp, clean tools prevent the spread of disease and make work easier.

  • Tool Care: Sharpen pruners, oil wooden handles, and disinfect cutting surfaces.

Apply Dormant Oil

Control overwintering pests before buds break.

  • Pest Management: Spray fruit trees and roses with dormant oil to manage aphids, mites, and scale. Ensure temperatures remain above freezing during application.

Refresh Mulch and Edges

Mulch moderates soil temperature and suppresses weeds.

  • Mulching: Fluff existing mulch or add fresh material, keeping it away from plant stems.
  • Edging: Redefine bed edges now for a polished look all season.

Plan Your Planting

Map out your garden expansions to support biodiversity.

  • Biodiversity: Incorporate native plants, herbs, and pollinator-friendly flowers to enhance habitat health.

Visit D.R. Snell Nursery

Stock up on essential supplies as spring progresses.

  • Shop Local: Find seeds, soil amendments, and early-blooming shrubs. Our staff is ready to help connect you with successful local growing practices.

Early spring preparation sets the rhythm for the year. With thoughtful planning, your garden will reward you with vibrant blooms and productive harvests in the months ahead.

early spring garden checklist

Flood-Tolerant Native Plants

As spring arrives, many low-lying areas of the garden may experience temporary flooding from melting snow or heavy rain. Choosing the right native plants for these wet conditions can help your landscape thrive, prevent soil erosion, and support local wildlife. By selecting species that tolerate early spring flooding, you can create resilient, beautiful, and ecologically beneficial plantings.

Understanding Soil and Site Conditions

Flood tolerance depends not only on species but also on soil type and drainage. Loamy or sandy soils drain more quickly, while clay-heavy soils may stay saturated longer. If your site is prone to standing water, consider creating mounds, raised beds, or swales to help improve drainage and plant longevity. Evaluate microclimates—plants may respond differently depending on sun exposure, wind, and proximity to other landscape features.

Seasonal Care for Flood-Tolerant Plants

Early spring is an ideal time to prune, divide, or fertilize flood-tolerant native plants. Be mindful of soil compaction—avoid heavy foot traffic in saturated areas. Many wetland species are susceptible to fungal diseases, so ensure good air circulation and consider mulching with organic material that will break down naturally.

Companion Planting and Wildlife Benefits

Flood-tolerant natives often pair well with other species to create layered, resilient landscapes. Consider plants that attract pollinators, birds, and amphibians, or provide seeds and berries for wildlife. By mixing different growth forms—tall emergent plants with low-spreading groundcovers—you can improve biodiversity while stabilizing wet soil.

Design and Visual Interest

Even in wet areas, your garden can be visually appealing. Flood-tolerant natives offer varied textures, seasonal blooms, and contrasting foliage. Use taller plants as focal points, with shorter species around the edges to soften transitions. Ornamental grasses, rushes, and sedges provide movement and year-round structure, while flowering perennials add seasonal color.

Top Flood-Tolerant Native Plants for Early Spring

Here are some excellent options for areas that experience early spring flooding:

  • Swamp Milkweed (Asclepias incarnata) – Upright perennial, 3–5’ tall; spreads via rhizomes; attracts pollinators.
  • Blue Flag Iris (Iris versicolor) – Clumping perennial, 2–3’ tall; spreads slowly; blooms in early summer.
  • Cardinal Flower (Lobelia cardinalis) – Upright, 3–4’ tall; spreads gradually; vivid red flowers attract hummingbirds.
  • Joe-Pye Weed (Eutrochium purpureum) – Tall perennial, 4–7’ tall; sturdy stems; clusters of pinkish-purple flowers.
  • Sensitive Fern (Onoclea sensibilis) – Medium-height fern, 2–3’ tall; spreads via rhizomes; lush foliage tolerates wet soils.
  • Marsh Marigold (Caltha palustris) – Low perennial, 6–12” tall; forms spreading clumps; bright yellow spring blooms.
  • Red-osier Dogwood (Cornus sericea) – Shrub, 6–9’ tall; spreads by suckers; striking red stems in winter.
  • Winterberry (Ilex verticillata) – Shrub, 6–12’ tall; dioecious; produces bright berries for birds.
  • Virginia Bluebell (Mertensia virginica) – Low perennial, 12–18” tall; spreads slowly; delicate blue spring flowers.
  • Swamp White Oak (Quercus bicolor) – Tree, 50–60’ tall; tolerates wet soils; excellent for canopy and shade.

Maintenance and Long-Term Care

Flood-tolerant plants may self-seed or spread, which can be advantageous in meadows or riparian plantings. Keep an eye on aggressive spreaders and manage as needed. Mulching helps retain soil structure and nutrients, while periodic monitoring ensures plants remain healthy through wet-dry cycles.

Creating Functional Wet Areas

Incorporate flood-tolerant plants into stormwater gardens, rain gardens, or along streams and ponds to maximize ecological benefits. These plantings not only prevent erosion but also improve water quality and provide critical habitat for wildlife.

By selecting native plants that can endure early spring flooding, you create a resilient and beautiful garden that supports local ecosystems. With careful site planning, companion planting, and seasonal care, these species will thrive while enhancing your landscape’s visual and ecological value.

early spring flood-tolerant plants

Cold Soil Vegetable Favorites

It happens every year around March. The days get a little longer, the birds start singing, and you get that undeniable itch to get out in the garden. But while your spirit is ready, the ground often isn’t.

Early spring soil is tricky. It is cold, damp, and slow to warm up. If you plant heat-loving crops like tomatoes or peppers now, they will likely rot before they even sprout. However, you don’t have to wait until May to start growing food. Nature has provided us with an incredible lineup of vegetables that actually prefer the chill of March and April. By choosing the right crops and using a few smart techniques, you can have a lush, productive garden weeks before your neighbors.

Why Cold Soil Isn’t a Dealbreaker

For many seeds, cold soil is a “do not enter” sign. It slows down germination and prevents roots from taking up nutrients. But cool-season crops are different. These hardy plants are biologically programmed to wake up when soil temperatures are as low as 40–50°F. In fact, many of them taste sweeter and have a crisper texture when grown in the cool air of early spring rather than the heat of summer.

Top Picks for March and April Sowing

If you are ready to brave the brisk air, here are the best vegetables to direct sow right now:

  • Peas: There is nothing quite like the taste of a garden-fresh pea. These are the classic early spring crops. They are incredibly hardy and can go into the ground as soon as the soil can be worked in March. Give them a trellis to climb, and you will be snacking in no time.
  • Spinach: This leafy green is a champion of the cold. It thrives in cool, moist soil and germinates quickly. Sow it in March for baby greens that are tender and sweet.
  • Radishes: If you want instant gratification, plant radishes. They are fast-growing and aren’t bothered by cold soil. You can often harvest them just a few weeks after planting in April.
  • Lettuce: Cool soil is actually preferred for lettuce germination. Plant a mix of varieties for a beautiful and tasty salad bowl. Just be ready to harvest before the summer heat makes them bitter.
  • Carrots: While they can be a bit slow to wake up in cold soil (sometimes taking up to three weeks), early spring carrots are worth the wait. The cool temperatures concentrate sugars in the roots, making them incredibly sweet.
  • Beets: These earthy gems tolerate light frosts well. Sow them in April when the soil has warmed slightly to around 50°F. Don’t forget that you can eat the greens while you wait for the roots to bulb up!
  • Kale and Chard: These are the workhorses of the vegetable garden. Both are extremely cold-tolerant. Chard might take a moment to get going, but once it establishes, it will provide harvests well into the warmer months.

Tips for Success in Chilly Weather

Gardening in March and April requires a slightly different approach than summer gardening. Here is how to ensure success:

  • Do the Squeeze Test: Before you dig, grab a handful of soil and squeeze it. If it drips water or forms a tight, sticky ball, it is too wet to work. Digging in wet, cold soil can ruin its structure. Wait until it crumbles loosely in your hand.
  • Boost the Heat: You can cheat a little by using row covers or cloches. These lightweight fabrics act like a mini-greenhouse, trapping heat near the soil surface and protecting tender seedlings from those surprise late frosts.
  • Don’t Bury Them Deep: In cold soil, seeds often do better when planted slightly shallower than usual, as the surface warms up faster during the day.
  • Keep it Coming: Don’t plant everything at once. Use succession planting by sowing a new row of lettuce or radishes every two weeks. This ensures you have a continuous harvest rather than one giant glut of vegetables.

Spring is a time of renewal, and there is no better way to celebrate than by coaxing life from the cold earth. So grab your seeds and get out there—your future salads are waiting!

cold soil vegetable planting

Woodland Edge Garden Ideas

Creating a native woodland edge garden is a rewarding way to add beauty, biodiversity, and year-round interest to your landscape. Woodland edge gardens mimic the transitional zone between forest and open areas, providing unique habitat for pollinators, birds, and small wildlife while offering gardeners a naturally layered and dynamic planting scheme. By selecting native species suited to local soil and light conditions, you can cultivate a low-maintenance garden that thrives with minimal intervention.

Understanding the Woodland Edge

A woodland edge is defined by the gradual transition from shaded forest understory to sunny meadow or lawn. This zone often experiences dappled sunlight, partial shade, and moderate moisture, making it ideal for a mix of trees, shrubs, and perennials. Native plants in this zone are adapted to these light and soil conditions, and their layered growth habits—tall trees, medium-size shrubs, and low-growing groundcovers—create a visually appealing, ecologically functional environment.

Choosing the Right Trees

Trees form the backbone of a woodland edge garden, providing structure, shade, and seasonal interest. Consider these native options:

  • Eastern Redbud (Cercis canadensis): Early spring blossoms, moderate size, and adaptable to partial shade.
  • Serviceberry (Amelanchier spp.): Multi-season appeal with spring flowers, edible summer berries, and stunning fall foliage.
  • Sugar Maple (Acer saccharum): Provides a rich canopy for shade-loving understory plants and brilliant autumn color.

Planting a mix of trees that vary in bloom time, height, and texture will create visual depth and year-round interest while supporting wildlife diversity.

Selecting Shrubs for Layered Interest

Shrubs add mid-layer structure, attract pollinators, and provide food for birds. Excellent native choices include:

  • Ninebark (Physocarpus opulifolius): Multi-stemmed shrub with peeling bark, spring blooms, and summer seed heads.
  • Winterberry (Ilex verticillata): Deciduous holly with bright red berries that persist through winter.
  • Spicebush (Lindera benzoin): Fragrant leaves when crushed, yellow spring flowers, and berries that attract birds.

Shrubs planted in clusters or drifts help create a naturalistic edge, softening the transition between trees and lower-growing plants.

Groundcovers and Perennials

Low-growing native plants fill the understory, suppress weeds, and provide early-season blooms for pollinators. Consider these:

  • Wild Ginger (Asarum canadense): Dense, spreading mat that thrives in shade and helps control erosion.
  • Foamflower (Tiarella cordifolia): Attractive spring blooms and spreads to form a lush groundcover.
  • Creeping Phlox (Phlox subulata): Sun-tolerant option that adds vibrant color along edges.
  • Solomon’s Seal (Polygonatum biflorum): Graceful arching stems with dangling white flowers in spring.

Layering these perennials and groundcovers beneath trees and shrubs provides visual interest, stabilizes soil, and supports a healthy ecosystem.

Tips for a Successful Woodland Edge Garden

  1. Mimic Natural Layers: Plant tall trees first, followed by medium-size shrubs and low-growing perennials and groundcovers.
  2. Consider Soil Moisture: Woodland edges often have variable drainage; amend soil as needed with compost for healthy root establishment.
  3. Plant in Drifts: Group plants in clusters rather than straight lines for a naturalized appearance.
  4. Encourage Wildlife: Include berry-bearing shrubs and nectar-rich perennials to attract birds, pollinators, and beneficial insects.
  5. Maintain with Minimal Intervention: Remove invasive species promptly, mulch lightly with shredded leaves, and water only during extended dry periods.

Seasonal Highlights

  • Spring: Blooming trees, early perennials, and emerging groundcovers provide color and nectar for pollinators.
  • Summer: Lush foliage shades understory plants while offering shelter for wildlife.
  • Fall: Vibrant foliage and berries create visual interest and provide food sources for birds.
  • Winter: Structural beauty of tree bark, shrub stems, and persistent berries adds texture to the landscape.

Start Your Woodland Edge Garden with D.R. Snell Nursery

A native woodland edge garden is a sustainable and beautiful way to integrate ecological function into your property. With careful selection of trees, shrubs, and perennials, you can enjoy year-round interest while supporting pollinators, birds, and beneficial insects. At D.R. Snell Nursery, we provide a curated selection of native plants and expert advice to help you design a woodland edge that is both visually stunning and environmentally supportive.

woodland edge garden ideas

Variegated Solomon’s Seal

If you don’t already grow variegated Solomon’s Seal in your shade garden, this is the year to start. This charming, visually appealing perennial is similar to hostas, but has its own unique character that will add beauty, texture and interest to your landscape. Furthermore, it is deer-resistant, making it perfect for a yard that may lose a few too many plants to wandering wildlife.

About Variegated Solomon’s Seal

Variegated Solomon’s Seal (Polygonatum falcatum ‘Variegatum’) is a low-maintenance plant native to Europe and Asia. A landscaping favorite for its overall beauty and visual richness, it sports 2-3-foot tall gracefully arching, reddish or burgundy stems. The stems are lined with narrow green leaves streaked in pure white. Beneath the stems, in pairs, from late spring to early summer, drip tiny, fragrant, bell-shaped white flowers. In the autumn, small, round, black fruit replaces the flowers and leaves turn golden yellow. Overall, these clumping plants grow 2-3 feet tall and wide, making them a suitable size for many different landscape designs. As clumps grow, they can be divided every 2-3 years in spring to give you even more of these lovely plants to work with, or you can allow the colony to naturalize in your landscape for a lush carpet of foliage and flowers.

This plant is quite hardy and is not seriously bothered by either insects or diseases, though snails and slugs can be a problem. Leaf spot and rust are very rare problems and easily overcome with diligent care.

Variegated Solomon’s Seal in Your Landscape

These are versatile plants that can do well in any full or part-shade area of your landscape. Add Solomon’s Seal to a woodland garden or shady border, or beneath a broad, spreading tree. This is a great plant to anchor rain gardens, because it likes moist soils and is not overly sensitive to too much water. At the same time, it will also tolerate drought and drier soils, making it an ideal addition to add growth and greenery to rock gardens.

Variegated Solomon’s Seal can look stunning on its own, or adds even more texture and interest when planted with hostas and ferns or when filling in spaces between other shrubs or ornamental grasses. Plant it in fertile, moist, well-drained soil, preferably in fully shade or only minimal dappled sun. Amend the soil with compost as needed, especially while the plants are young. Water well until the plants are established, then enjoy the beauty as this low-maintenance wonder takes good care of itself.

Rotating Your Vegetable Crops

Whether you just plant a few tomatoes, herbs and some lettuce or an elaborate garden complete with exotic selections of lesser known veggies, you’ll want to rotate your crops each year. All types of vegetable crops – brassicas, onions, legumes and root crops – require a slightly different blend of nutrients and trace elements, even if their light and water requirements are similar. If you always grow your tomatoes in the same place, eventually the soil will become exhausted of the nutrients that tomatoes require the most, and the crop will become weaker and less productive. Meanwhile, another vegetable could easily thrive in that location and its growth would help replenish the nutrients that tomatoes may need in future years. If you rotate crops in and out, you’ll enrich the soil and enjoy larger, more productive, more flavorful harvests.

The easiest way to rotate your vegetables is to use a 3-year plan. First, you’ll need to decide which vegetables you plan to grow, then divide them into these three main groups:

Group 1:
Peas
Beans
Celery
Onions
Lettuce
Spinach
Sweet Corn
Tomatoes
Zucchini

Group 2:
Cabbage
Cauliflower
Broccoli
Kohlrabi
Rutabaga
Turnip
Radishes

Group 3:
Beets
Carrots
Parsnips
Potatoes

It’s all right if you don’t plant to grow vegetables from each group. Simply adjust your rotation plan to compensate, or even consider trying out a new vegetable to complete the rotation and expand the variety of your garden.

Next, draw a plan of your garden and mark where each group of plants will go, keeping in mind the light and watering requirements of different varieties. It may help to sketch out the boundaries of each group, noting which plants are part of which rows, boxes, containers or beds. Keep those notes and sketches in your garden journal, and also take notes throughout the growing season about which plants perform best and which may be struggling. Next year, move the plants accordingly to shift where different crops are located. If you choose to add new vegetables to your garden, start them in the location with their appropriate group and bring them right into the rotation scheme.

As you rotate crops each year, you will notice consistently lush, healthy plants, bountiful harvests and delicious produce. After a few growing seasons, rotating your vegetable crops will be second nature and will be an important part of your gardening plan to ensure only the best comes from your garden.

rotating-crop-1

rotating-crop-4

rotating-crop-3

rotating-crop-2

Winter Composting the 3-Bucket Way

It’s cold outside and the compost pile is frozen. Do you really feel like hauling kitchen scraps out into the winter wasteland only to have them picked through by scavengers when there isn’t enough bacteria available to break them down? Fortunately, there is an alternative. Keep your kitchen scraps cooking this winter and producing buckets of black gold for the garden next spring while you stay warm and cozy. Try the three-bucket system in your basement or heated garage – no odor, no pests and very easy!

The 3-Bucket System

Try these easy steps for the 3-bucket composting system in your basement or heated garage, where there is just enough warmth to keep the system operating without the microbes and outer layers of the compost freezing. Five-gallon painter buckets with lids work great or plastic trash cans with lids make the job a cinch. Even better are cans with wheels, so you can easily move your compost out to the garden for spring use!

  1. Fill bucket #1 with sawdust or peat moss mixed with equal parts dry soil. Add a little limestone and cover with lid.
  2. On the bottom of bucket #2, place about one inch of dry straw, leaves or shredded newspaper. Dump your kitchen scraps on top as they become available, each time sprinkling on some of the sawdust/soil mixture from bucket #1 to absorb odors and excess moisture. If you have a lot of scraps to add all at one time, portion them out and add as smaller amounts, covering each addition with the sawdust/soil mixture. Replace the lid after each addition. If there are any large pieces of scraps you may want to chop them smaller before adding to help speed the decomposition process. If your scraps are holding excess water, let them drain well before adding them to the bucket.
  3. When bucket #2 is full start filling bucket #3, using the same process you used with bucket #2. By the time bucket #3 is full, the contents of bucket #2 should be well on the way to becoming compost. Despite calling this the 3-bucket system, you can actually keep adding as many buckets as you need through the winter, but number them appropriately so you can keep track of which ones are most composted to be used first.
  4. Use and enjoy in the spring!

While the 3-bucket compost system won’t replace your compost pile, it’s still a great way to continue composting through the winter so you have plenty of rich, organic material to add to your garden in spring. Don’t let the scraps and waste from winter days be lost in the trash – turn that trash to treasure for your garden!

Tooling Around in the Garden: Selecting and Caring for Garden Tools

Let’s face it – purchasing a new garden tool is usually not the first thing on your mind when you visit your friendly neighborhood garden center. Most of us tend to gravitate toward the latest and greatest herbaceous eye-candy without considering whether we have all the equipment necessary to prepare and care for it. The right tools, however, are critical to keep all your plants in top condition, and selecting quality garden tools is no simple matter. You want one that meets your needs, is available when needed, is easy on you, is long lasting and is not too expensive or too hard to maintain.

Choosing a New Tool

With so many tools on the market, choosing one that meets your needs can be a daunting task. First consider what type of work you will be doing, and what tools are required to accomplish your goal. Choosing the right tool for the job will make the work easier and more efficient. If you’re not sure, ask – our employees will be happy to assist your selection.

When you find a tool you are interested in, before you buy it, try it! Basic tools in new designs are available to the consumer every year. Those that are ergonomically designed, to align with the natural mechanics of our bodies, are meant to lessen the stress on muscles and joints as we garden. So pick up the tool and see how it feels in your hands. Make sure the weight and size are well suited to your strength and frame. Does it feel comfortable as you simulate the way it will be used? If it feels awkward, you will not be able to use it properly and may be tempted to neglect your garden chores instead.

Caring for New Tools

When you find a tool that meets your needs and is comfortable, you will want to have it around for a long time. Plan to purchase the highest quality tools that your budget will allow. If you purchase tools simply because they are the least expensive, chances are they will not last, and you will eventually spend more money to replace them.

Proper care and storage will add to the longevity of your garden tools. Hose off tools to remove soil and chemicals after every use. Allow tools to dry thoroughly before storing. For hardened soil, use a wire brush. Occasionally cleaning metal surfaces with oil will help to keep tools lubricated and prevent rust. Keep all moving parts oiled as well to enhance performance. Oil wooden handles at least twice a year with linseed oil to help prevent drying and splintering. For ease of use, keep tools with cutting surfaces sharp by filing them as often as needed. Check frequently and tighten any loose screws and bolts. Store all garden tools in a dry place with tool surfaces off the ground.

Every garden tool you own is important to the health, beauty and productivity of your garden and landscape. Be sure you choose the best tools and maintain them well to make the most of all your gardening.

Tomato plant and garden tools

selecting-tools-1

Attracting Birds to Your Garden

One of the benefits of a garden is the wildlife it attracts, and birds are some of the most popular garden wildlife. Most birds are voracious eaters that are glad to keep the insect population down, and may eat 500-1,000 insects in one afternoon. This makes them ideal for natural (and free!) pest control. Anything you can do to attract birds will make your garden healthier and you’ll be entertained by their feeding antics along the way.

Fortunately, it is easy to attract birds to your garden if you meet their needs for food, shelter, water and overall habitat variety.

Food

While birds will certainly eat insects and may munch on seeds, berries and fruits in the garden, consider placing a variety of bird feeders in your garden to entice even more birds to visit. Platform feeders attract ground birds, hanging feeders are for perching birds and suet holders attract insect-eating birds. Suet is especially important during the winter as this helps birds maintain their body temperature by adding fat to their diet. Hang plastic mesh bags of suet or pinecones dipped in suet (or peanut butter) from the limbs of trees.

For your other feathered guests, white millet and black oil sunflower seeds will attract the most common seed-eating birds and can be sprinkled directly on the ground or added to feeders. Add other species-specific seed like Nyjer (thistle) seed (to attract goldfinches, pine siskins and purple finches) or peanuts (to attract chickadees, jays and tufted titmice) to your buffet. Various gourmet seed mixes are also available like Lyric Supreme, Delight, Chickadee, Woodpecker and Finch Mixes, each of which is blended with specific birds in mind and includes the foods those birds like best.

Shelter and Nesting Sites

Birds feel more secure if they have shelter to protect themselves from the weather and other predators. Plant native trees and shrubs birds will easily recognize as suitable shelter. If your landscape is young and doesn’t include much shelter for birds, don’t worry. Consider building a brush pile or adding a loose woodpile to the yard and birds will happily take advantage of it.

You may also want to add nesting boxes or bird houses and other materials for birds to raise their young. This should be done in late winter or early spring just as birds are beginning to look for nesting sites. Clean houses or boxes after each nesting season.

Water

One of the most important things to include in your bird-friendly garden is water. This is especially true during the winter months. Use a bird bath heater to keep water from freezing. Ideal water sources are 2-3 inches deep and 3 feet off the ground to keep visiting birds safer from prowling predators. Moving water is a magnet for most birds and will attract them from great distances for a drink or bath. A mister, dripper or circulating pump can be added to a bird bath or other water feature during most of the year, but take care to winterize the equipment properly so it does not freeze and break during the coldest months.

Habitat Variety

Because birds live in many different habitats, the variety of plant material you can offer in your backyard will determine how many birds are attracted to your garden. Consider native plants, plants with berries, fruits, sap and nectar for year-round food sources as well as nesting materials. Plan your landscape in tiers and flowing, connected beds so birds can move around easily, and include a variety of both deciduous and evergreen plantings so birds can find the habitat useful year-round.

We carry a complete line of bird feeders, houses, seed mixes and suets as well as garden accents; all the accessories and plants you will need to start attracting birds to your backyard. Stop by today!

atracting-bird-1